
The bagging station will complete assembly of the SSV, at which point they will add it to the ship desk for checking and if there are any additional parts that need to be picked for the order.
- Remove the plastic bag if it is around the storage bag.
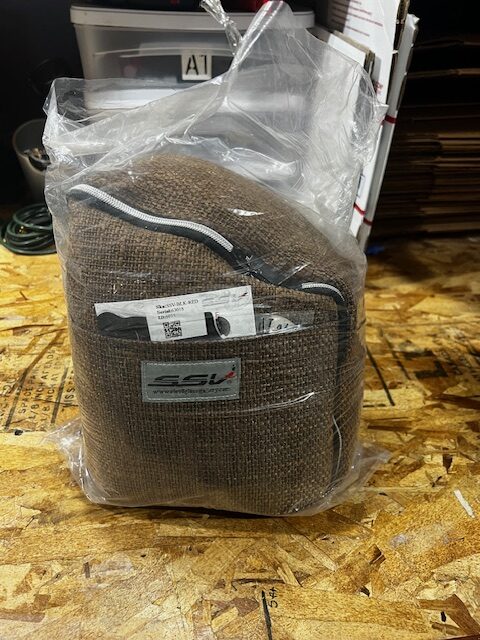
- The bag can be brought all the way off the unit.
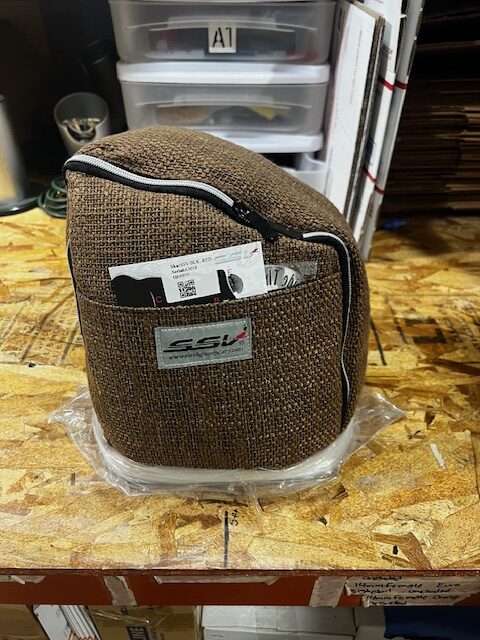
- Once that is done open the bag up, oriented so that the front portion rests on the table in front of you.
- First thing to check is the color combination, it is specified on the packing list as well as the sku on the production card.
- Next to check is the cord style, make sure it matches to the required voltage the customer chose.
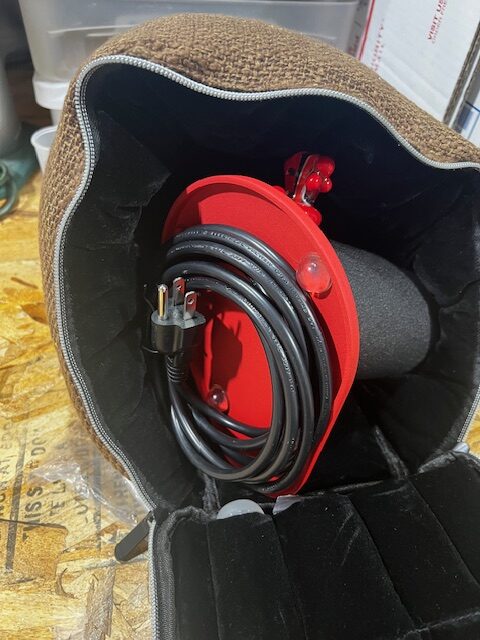
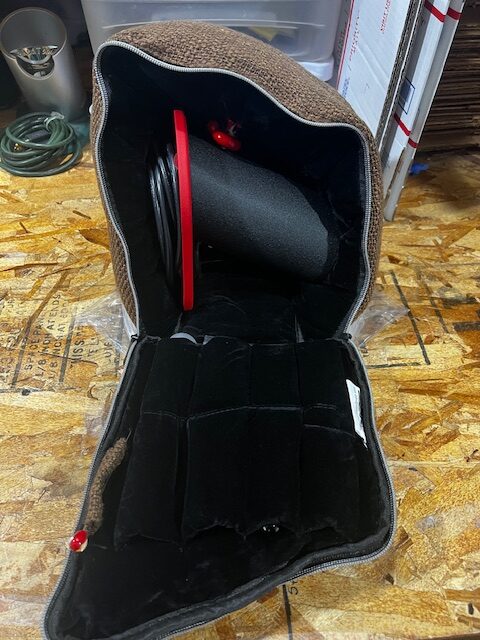
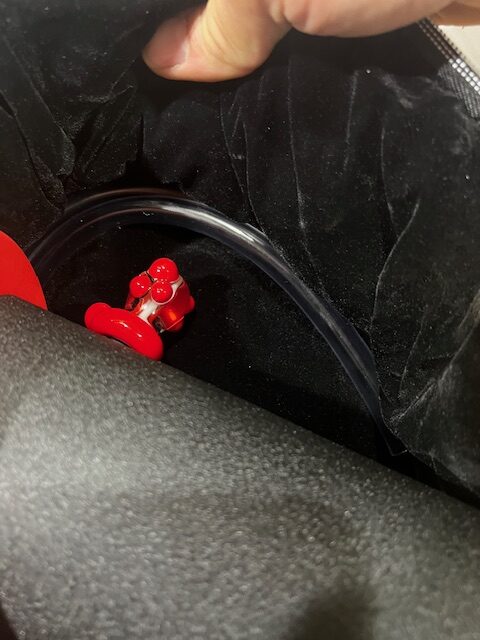
- Next make sure that the heater cover is installed, as well as the knob.
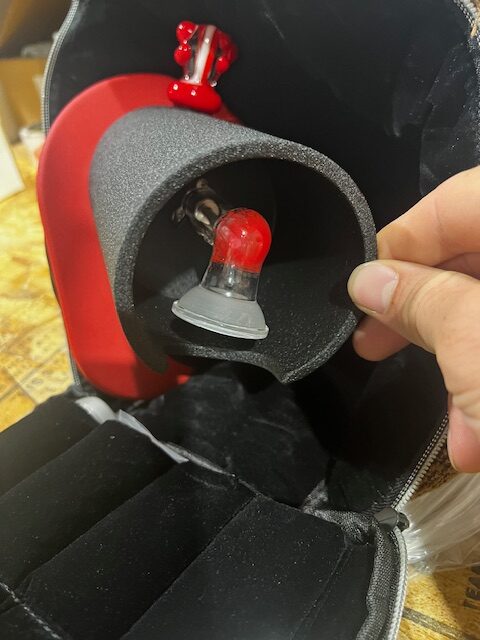
- the Hose is coiled around the inside of the storage bag behind the unit, confirm on the packing list what color they have chosen.
- Next we will be checking the wand, this is stored in the storage pocket on the inside of the front flap, on the far left longest pocket. Check the order to see if the customer has chosen a specific color for the frit in the wand as well.
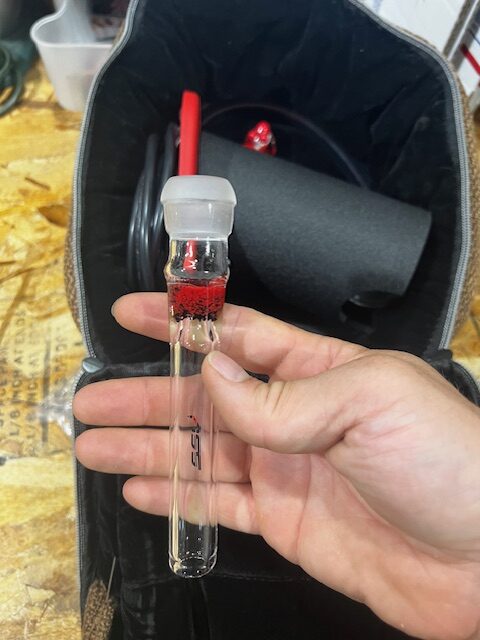
- Completely remove the wand from the pocket to inspect the screen is installed and proper.
- As well as the hose portion, always checking for cracks or blemishes as well.
- Reinsert the wand into it’s storage pocket.
- Make sure there is a Ceramic Flavor Disc in the bag, it’s in the pocket to the right of the wand.
- There shouldn’t be anything in the remaining bottom row pockets.
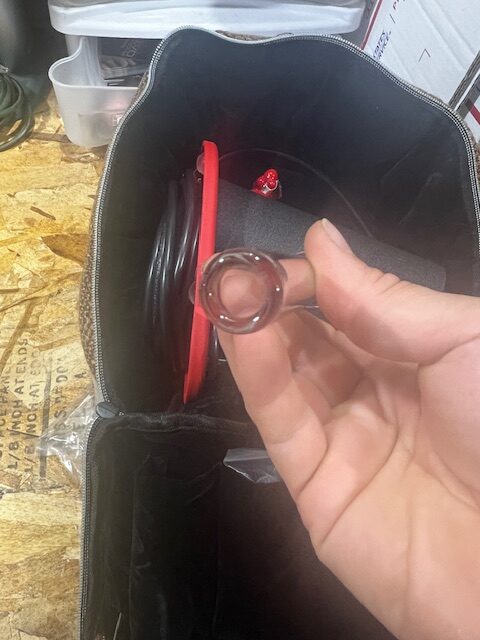
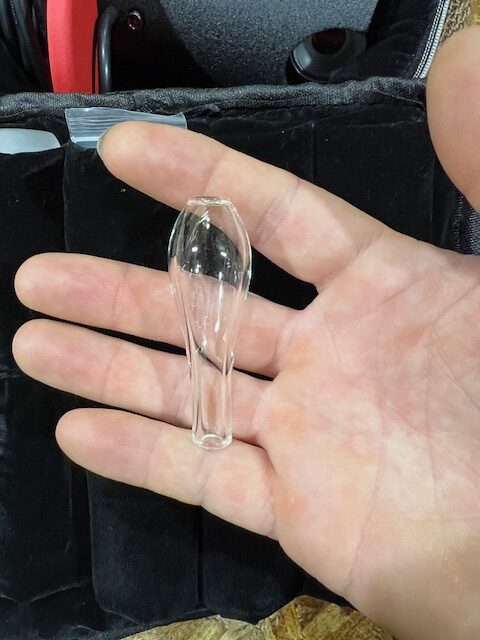
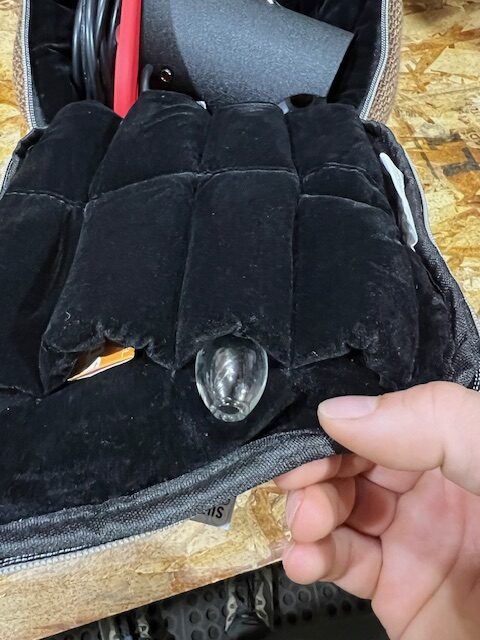
- Move onto the glass mouthpiece, the top row of pockets.
- Double check the packing list for the correct mouthpiece color.
- Check the mouthpiece for cracks or chips.
- Reinsert the mouthpiece into the pocket.
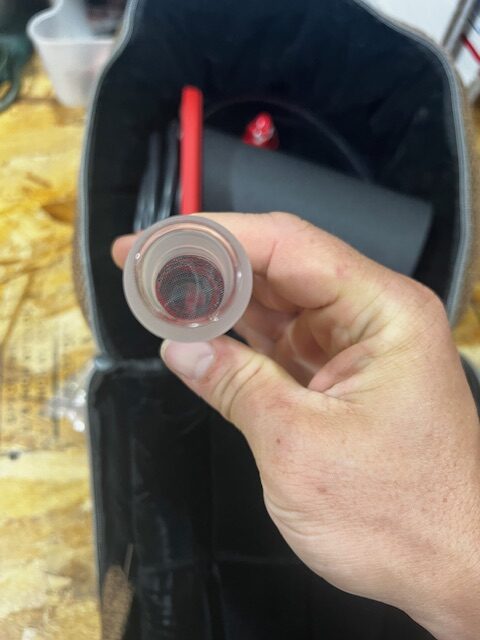
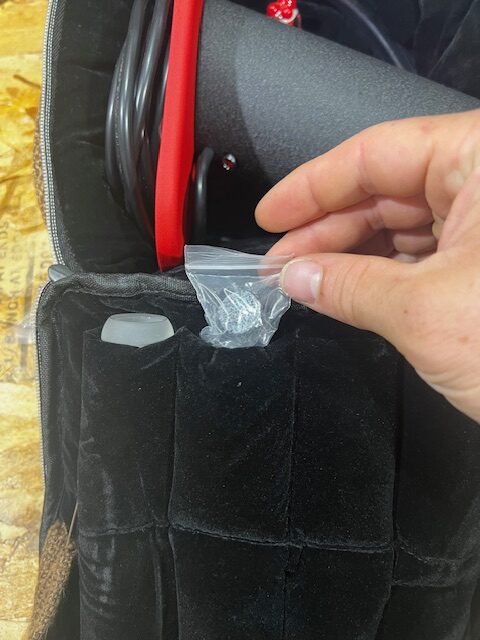
- Last inside the bag check is for the replacement screens, they are in the pocket to the right of the wand.
- Confirm it is the correct size for the wand. SSV=20.8mm
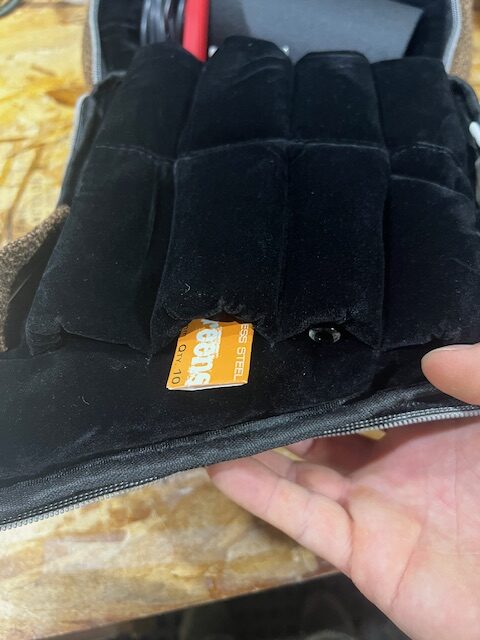
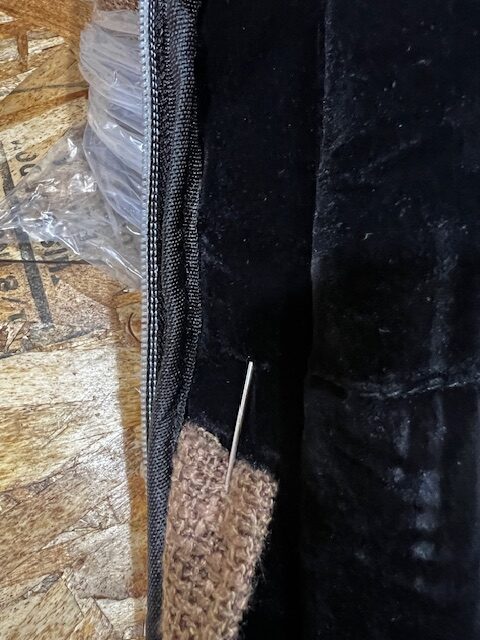
- Look to the left of the wand pocket to confirm a pick is through the tag.

- The pointed end should puncture the velvet lining so that the customer does not poke there hand when getting things out of the bag the first time.
- Once all items are securely stowed back in their pockets zip the bag back up.
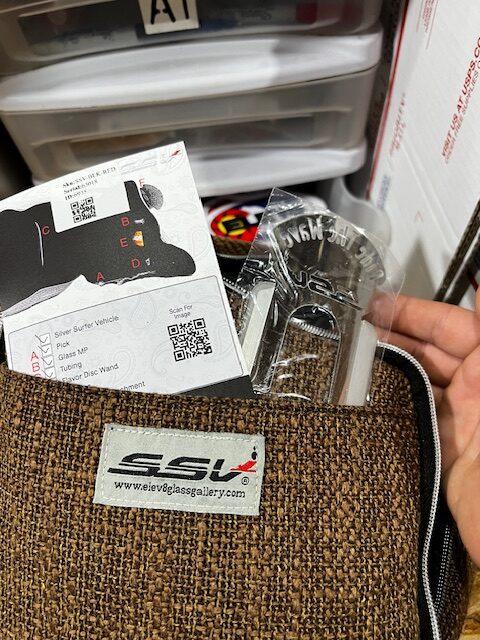
- Inspect the front exterior pocket to confirm that the Build Confirmation Card as well as the Hands Free Attachment are there.
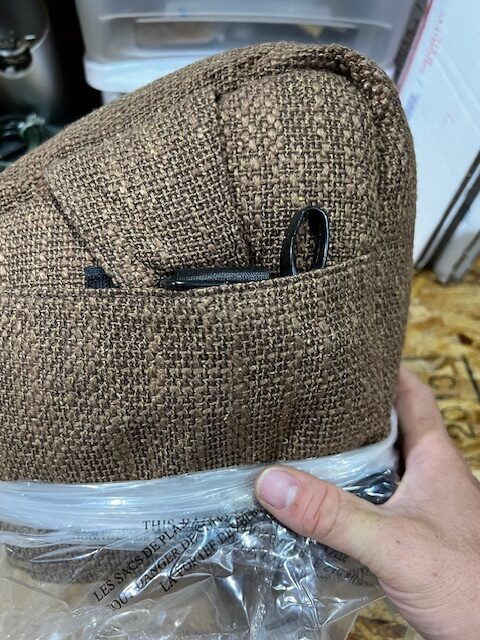
- Lastly flip the unit around and confirm the carry strap is tucked into the back pocket.
- If everything is good, bag the unit back up and it’s ready to go with the rest of the order, or be boxed up if it’s the only item on the order.