Go to Elev8arts.com/wp-login.php
Put in the email address elev8glassgallery@gmail.com
The password is located near the cash register
Once logged in go to Shop.

Click on RAFFLE
Add how many tickets the customer wants to pay in cash for.
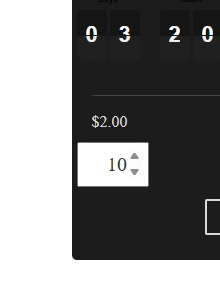
Click Add to Cart
Once they are in the Cart Click on Proceed to Checkout

Click Add Coupons
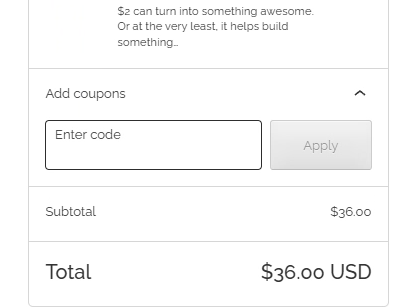
Enter code ELEV8420CASH
Press apply
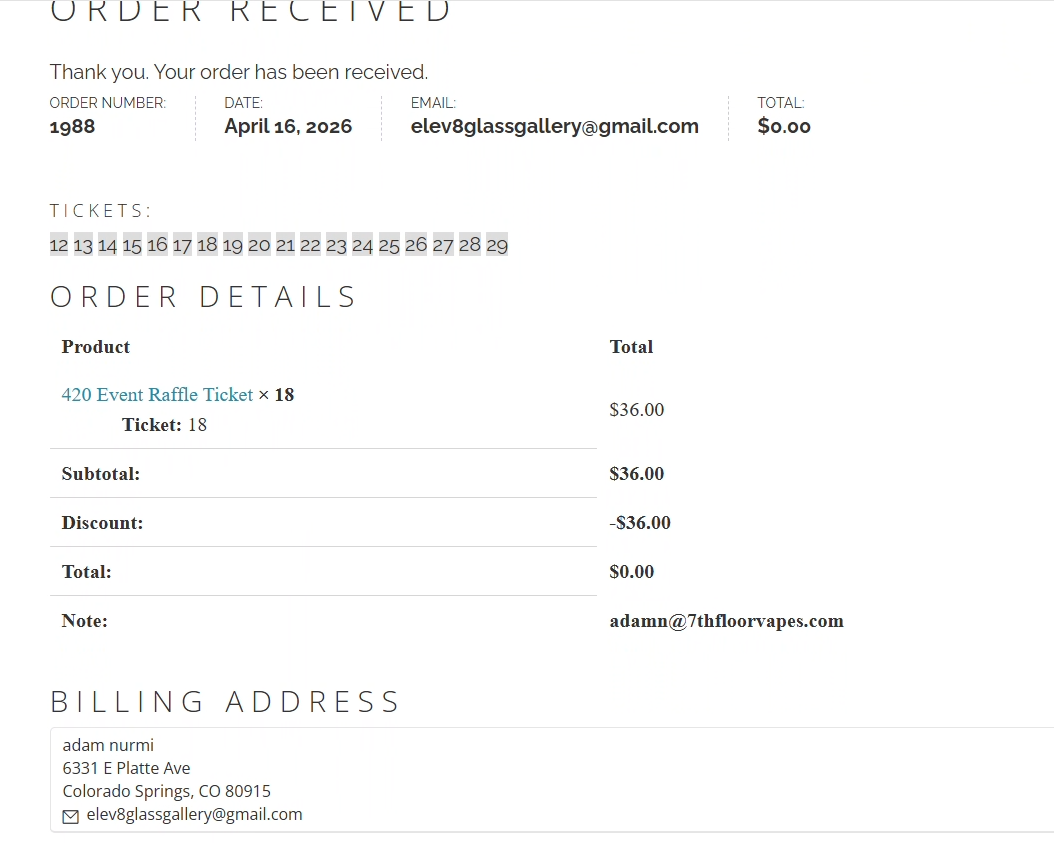
The total should go to zero
Put in the customers Name and Address.
In the bottom click Add a note to your order
Enter the customers email address into the field.
Click Place Order
On the next screen have the customer take a photo of the ticket numbers
Repeat the process for the next customer.
All glass made by Elev8 Premier and sold under the Elev8 Distribution brand is covered by a 10 day Manufacturer’s warranty.
If the customer receives their product and there is a crack or it breaks within that 10 day period they are able to send us a message or call and after sending photos of the piece we will send a replacement.
If the customer reaches out to us after several months, and sends photos of a piece that is broken but has signs of usage, it would not be covered under the manufacturers warranty.
When responding to those requests politely inform the customer that the piece does not fall under that replacement policy but inform them that the replacement part they order can have Phoenix Oath coverage added at the time of purchase and give them the information regarding the 50% off replacement cost.
How to void a label in shipstation
ATTN: If a shipping label needs to be voided for either the incorrect shipping class or modification of the label address, you need to make sure that after the label is recreated the customer gets an email with the new label tracking information, otherwise they will only receive the one that is now cancelled, which will cause confusion and frustration on their part.
to recreate the label on the same order, simply select the green create and print label button on the bottom right hand corner. You may change any parameters needed before doing so if a mistake was made. (i.e. box size, weight, address, etc.)
Boxes are ordered from Colorado Industrial Packaging
(dial 1 before inputting number) 719-591-9495 Ext 1.
Hours are 8am-4pm Mon – Friday.
Note: We must order a total quantity that will qualify for free shipping.
Common amounts for ordering boxes is as follows:
4x4x4 – 100
6x6x4 – 50
8x4x4 – 100
8x8x4 – 50
10x8x8 – 50
12x10x8 – 50
(The following is only as needed)
16x16x16 – 25
18x18x18 – 25
20x20x20 – 25
9×12 Poly Mailer (small white bags 500 per case) – 1 case
14×17 Poly Mailer (Large white bags 500 per case) – 1 case
Tape – 1 box
Small bubble wrap – 1 roll
Due to the presence of rodents in the storage area at the Elev8 Ranch, the cleaning procedure for the diffuser beads needs to specifically handle the disinfecting of all beads.
Always take precautions when cleaning to reduce your risk of getting sick. Before you begin cleaning, prepare by gathering the proper equipment.
Vinyl or Rubber gloves.
Eye protection if needed.
Make a bleach solution, 1 part bleach to 9 parts water, make bleach solution fresh before use in a spray bottle.
Protective clothing covers if needed.
Do not vacuum or sweep rodent droppings.
Diseases are mainly spread to people from rodents when they breathe in contaminated air. Don’t vacuum or sweep rodent urine, droppings, or nesting materials. This can cause tiny droplets containing viruses to get into the air.
Step 1: Put on rubber or vinyl gloves.
Step 2: Spray urine and droppings with bleach solution or an EPA-registered disinfectant until very wet. Let it soak for 5 minutes or according to instructions on the disinfectant label.
Step 3: Use paper towels to wipe up the urine or droppings and cleaning product off of the Diffuser beads.
Step 4: Throw the paper towels in a covered garbage can that is regularly emptied.
Step 5: Wash gloved hands with soap and water or a disinfectant before removing gloves.
Step 7: Wash hands with soap and warm water after removing gloves. Use a waterless alcohol-based hand rub when soap is not available, and hands are not visibly soiled.
Shipping wholesale orders is very similar to shipping retail orders, there are just a few more steps to accomplish the task.
First is assessing the whole order to decide what size box it requires or if there is enough product to necessitate multiple boxes.
Optimal as always is the least amount of boxes and the smallest box that still allows for the proper cushioning for everything in the shipment.
Once you start wrapping the parts that go into the over box (make sure to package under the camera on the shipping station) please consult the Wrapping Standards and Procedures for Shipping Article.
Once all the pieces are wrapped up, insert them in the larger box and fill with the appropriate void fill.
Make sure that the parts are not loose inside the box but also maintain 1″ of void fill to the inside of the box.
Once all parts are packaged before sealing the box place it onto the scale at the shipping station.
Pull up customer’s order and check if there are any notes in the order for the shipping method or to bill to a third part account.
Only if the piece has a bowl with it, otherwise a cone bowl is not provided.
