Posted by Adam on July 24, 2024
- Open https://192.168.2.45
- Login using the Username: admin, and password that is on the spreadsheet, or ask Steve or Adam to provide you with it.
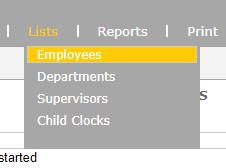
- Once logged in, hover over Lists, and click on Employees.
- Click on Show Inactive.
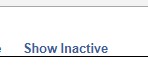
- That will list all previous employees.
- Choose one that is an older employee.
- Make that employee active again, by checking the box next to Active in their profile.
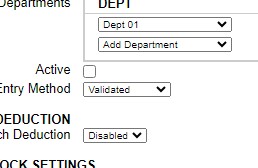
- Click Submit at the bottom of the page.
- Go back to the top of the new screen and hover over the Reports tab, and click on Timecards.
- Click on the time period in the top left, and change the dates from the current month and year to 2010, leave the end date to the current month and year.
- Change the employee to the inactive one you just made active, click Submit.
- If no punches come up, perfect the previous time data has already been archived.
- If there is punches for the employee download those in a report and store that in the personal drive.
- Go back to Lists and Employees.
- Now that we have an employee with no punches on their profile, you can start to modify it for the new employee.
- Book keeping should have provided you with all the information needed to input them into the system.
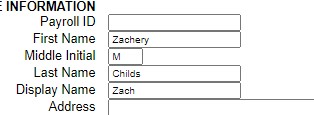
- Modify the First Name, Last name and Display name field, (Display name could just be their preferred first name if they have one besides their given first name)
- The next Section employee settings, the only field we need to modify is the PIN/Badges, that will be what they use to punch in and out, general practice is to use the last 4 digits of their social security number.
- The rest of the settings do not need to be modified.
- Click Submit on the bottom of the page, and have the new employee attempt to punch in with the newly created credentials.
