This process can’t be completed until the Extension has been setup on the Phone Server Side
Locate a Polycom IP335 phone and power cord.
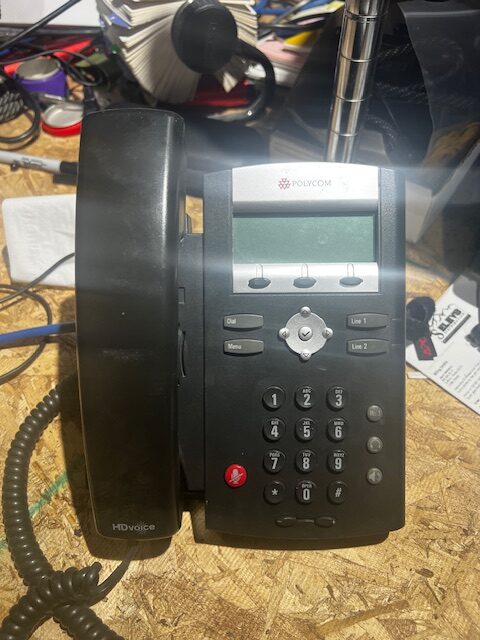
The phones will accept up to 24V of input from the power transformers, locate one that sufficient to power it on.
Plug in the network cable to the Lan Port on the back
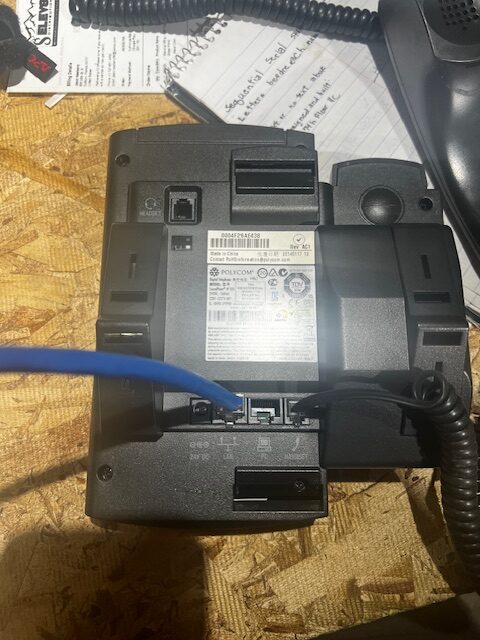
Insert the power cable in the port to the left of the Lan Port.
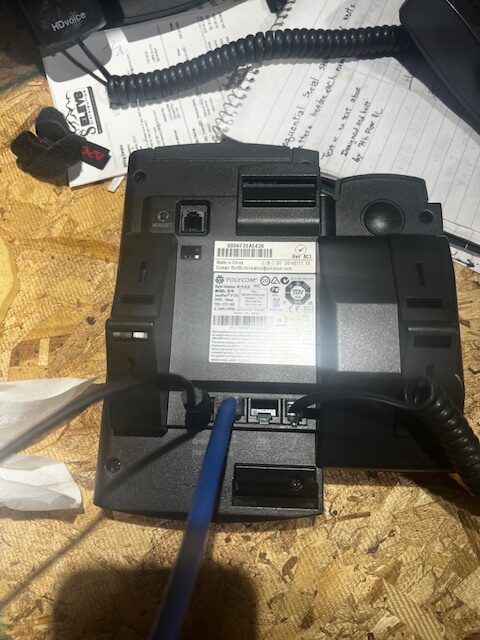
Next attach the base to the phone if it is not already.
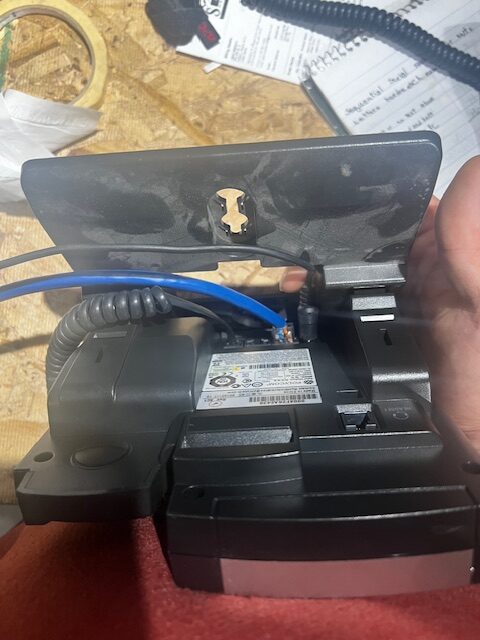
Once the phone is powered up wait for the network to connect.
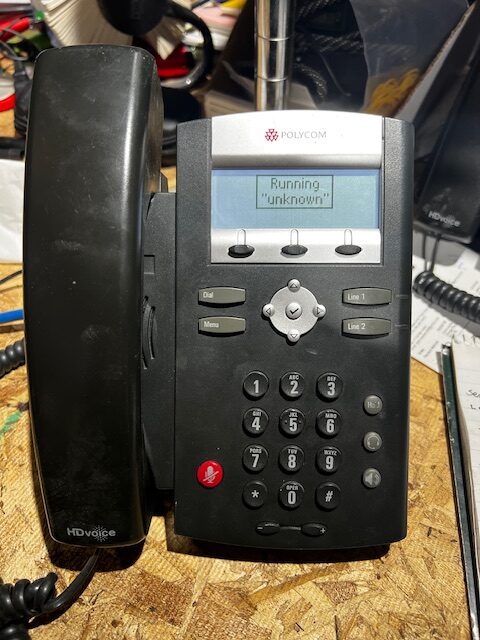
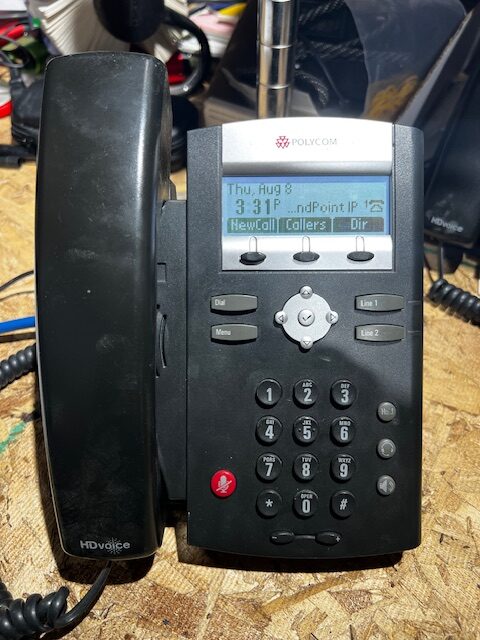
Once the device is booted up and network is connected, you will access the Menu, to see what IP address it pulled.
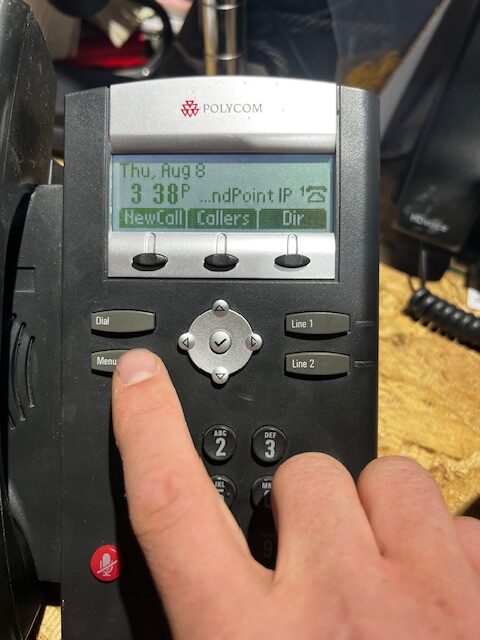
Press the Menu button.
Down button to get to Status.
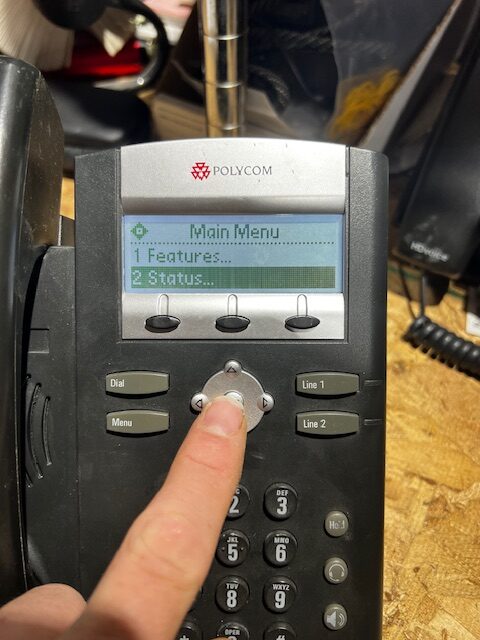
Followed by the Center button to go into Status
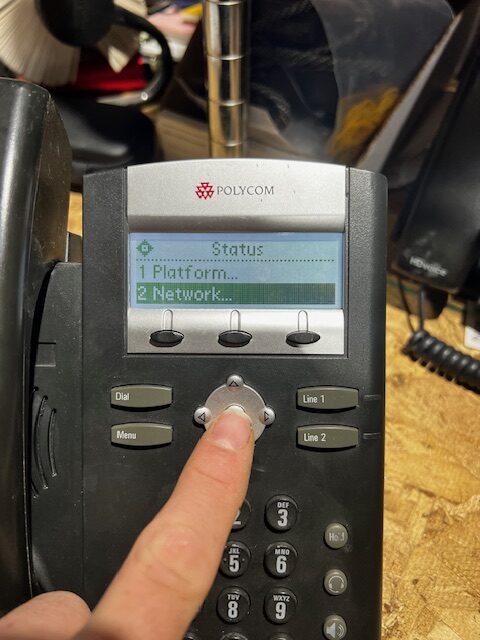
Down button to get to Network and then the Center Button.
Click the Center Button on TCP/IP Parameters.
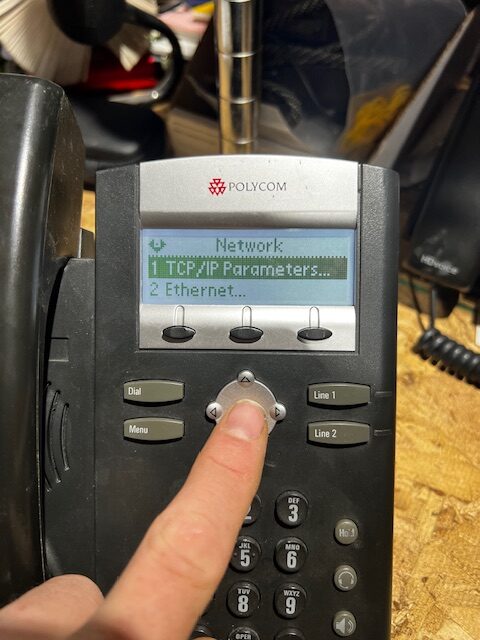
Once in that screen you need to take note of the IP Address assigned to the device, this will vary on each device.
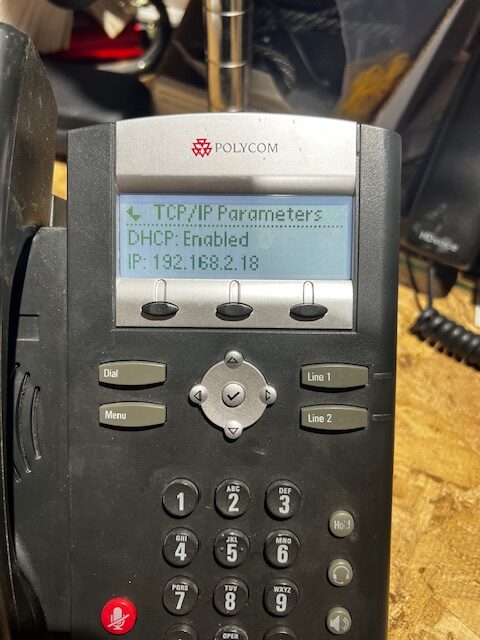
In this instance it is 192.168.2.18, open a new browser tab and type in the IP that is showing on the phone you are setting up.
You will reach a web page that shows Polycom Web Configuration Utility

Look to the center of the screen for the login window.
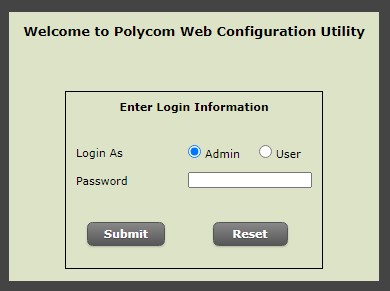
The password on a phone that is default settings will be 456 for the password.
Press Submit.
You will now have a menu at the top left of the screen.

The first step is to go into the Settings > SIP
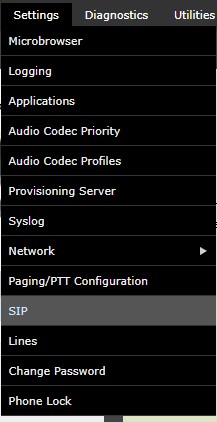
This will be mostly the settings you just created on the phone server side, so it’s probably good to keep that window up as well.
Once in the SIP Settings, nothing needs to be changed in the top portion, you will expand the Server 1 Section, that’s where you will put in the settings that are crucial to connecting to the phone server.
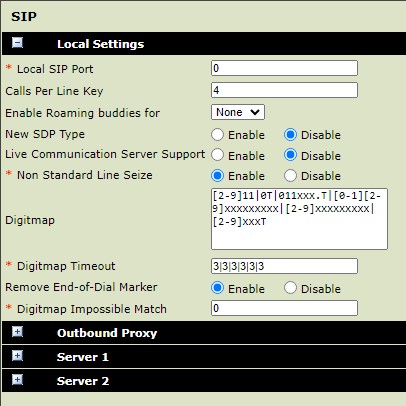
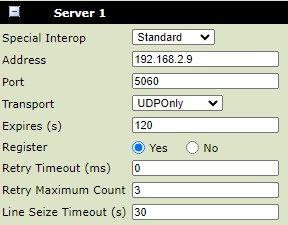
The first field is the IP of the phone server itself, this is 192.168.2.9
The port is where it reaches the Server at the IP so 5060
Transport is the protocol and it needs to be UDPOnly
Expires is how often it request the connection set to 120
The rest of the setting can be left at default.
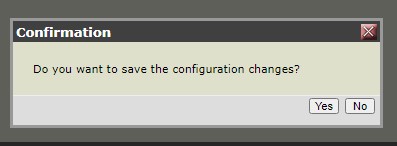
Once those settings are changed, you can Click Save at the bottom of the page.

Click Yes on the Confirmation dialog box.
The next Setting we will change are in Setting > Lines.
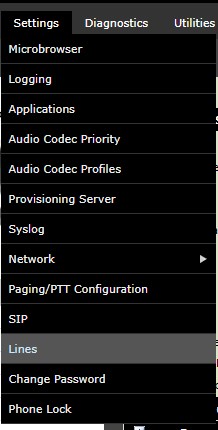
This will be the phone extension and secret that were created in the previous article, so it is nice to have that Extension window open as well.
Once the window is up for the Lines, you will be presented with the display extensions settings.
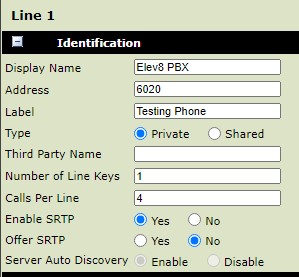
The Display Name can really be anything that describes the server it is connecting to.
Address is the Extension you entered on the phone server side.
Label is what will show on the phone screen.
The rest of the settings in this section can remain the same.
Now move to the Authentication Section.
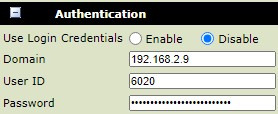
The Domain is the IP of the Phone Server 192.168.2.9
The User ID is the Extension.
The Password is the Secret that is in the Extensions window on the Phone Server side.

Once those are entered move to the Server 1 section
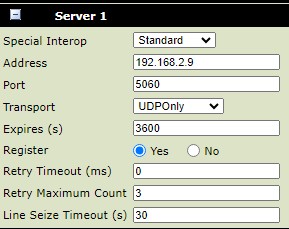
Enter in the Address that is the Phone Server IP address, 192.168.2.9
Port is 5060
Transport needs to be UDPOnly
The rest of the settings can remain the default.
Move onto the Message Center section.
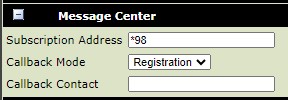
Subscription Address is where the Phone checks for Voicemail Messages, enter *98
Once all of the settings are confirmed scroll to the bottom of the page and Click Save again.

Click Yes on the Confirmation dialog window.

The phone will reboot, and the new settings will be applied.
When the phone comes back up, you will see this.
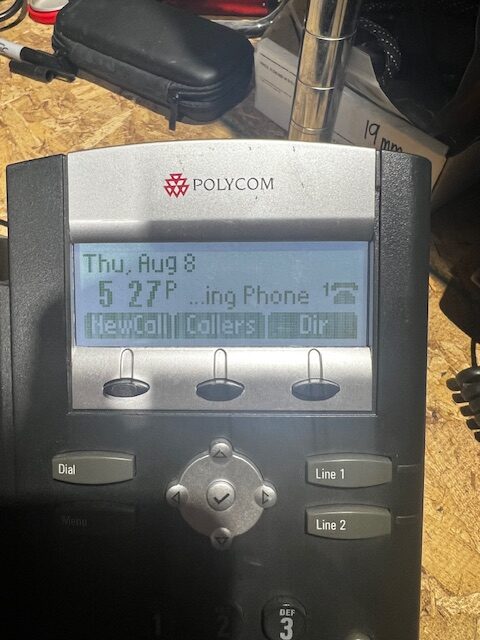
The solid Icon of the phone shows that it is connected and good.
If you see this, you have an issue with one of the settings.
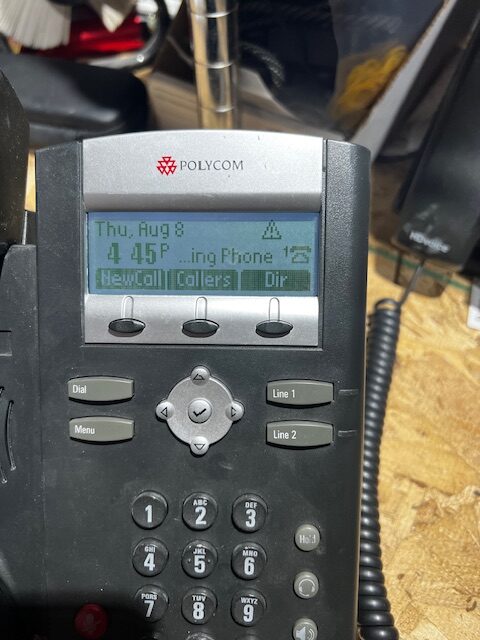
This means the line isn’t registered, double check your settings for the extension and the Secret stored for the extension, once you have confirmed them, you will need to reboot the phone to see if the line registers properly.
If it does you are good to test the extension from another desktop phone.
Dial the new Extension and see if it rings through.
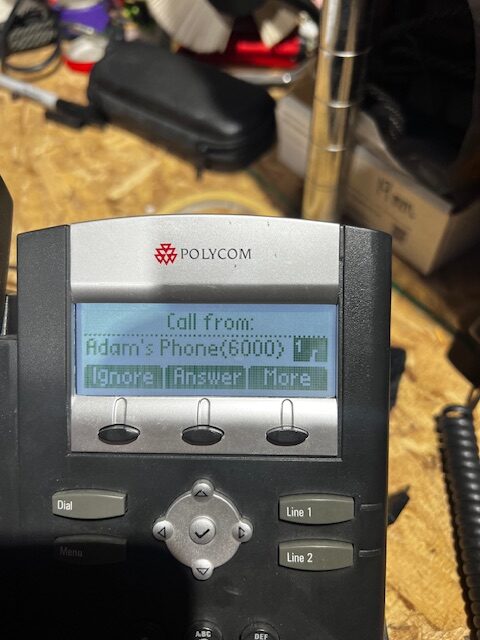
Try dialing out from the new extension as well.
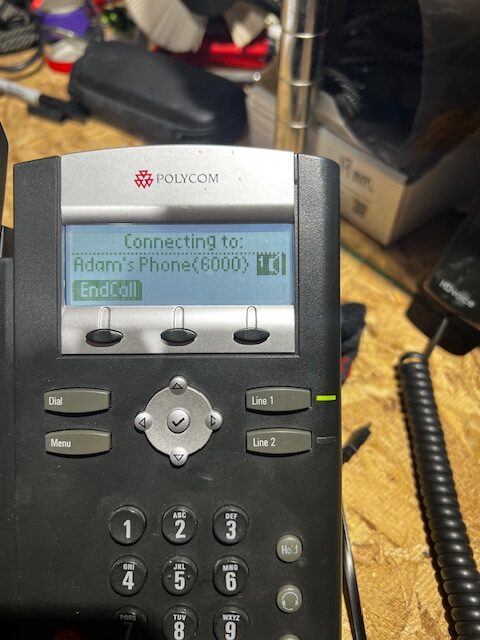
Once these are confirmed there are a few last settings that need to be modified to place the new device in service.
Go back to the configuration website.
Click on Date & Time under Preferences.
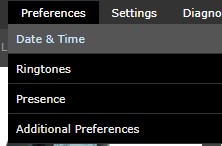
Click into the section for Time Synchronization, and change the time zone to (GMT -7:00) Mountain Time (US & Canada)

Click Save at the bottom after modifying the setting.
Click yes on the Confirmation dialog box.
On the phone go to Menu
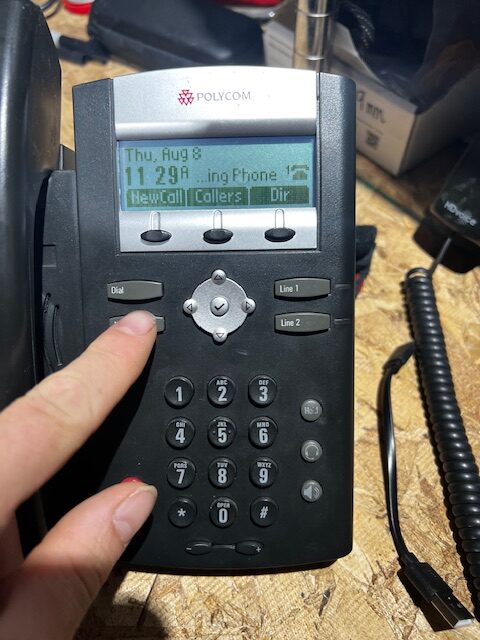
Then down to settings.
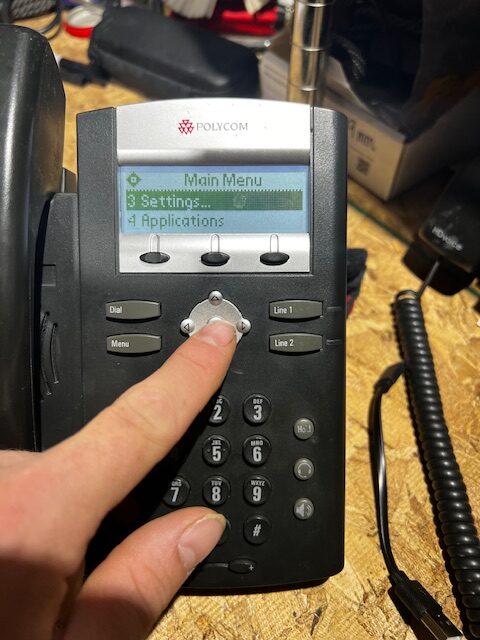
Click the center Button on Settings, and down to Advanced.
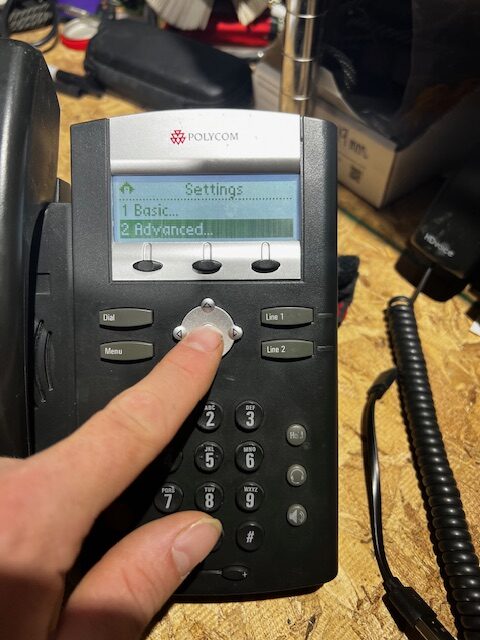
Click the center button. It will ask for a password again it will most likely be the 456 press enter when that is entered.
Click the center button on Admin Settings.
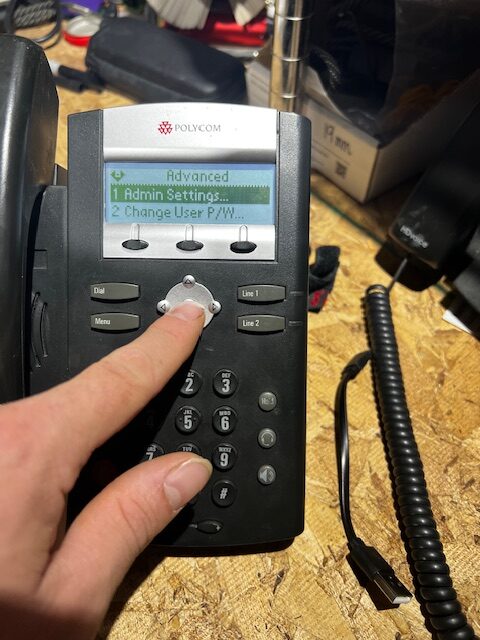
Next click the Center Button on Network Config.
Click down until you get to SNTP Addr:
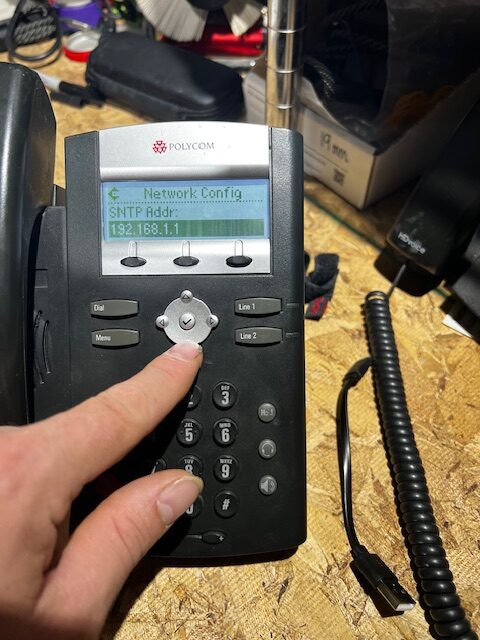
If there isn’t an IP entered click the center button to enter it.
Start with 192 on the key pad, and then press # to change the input method to URL
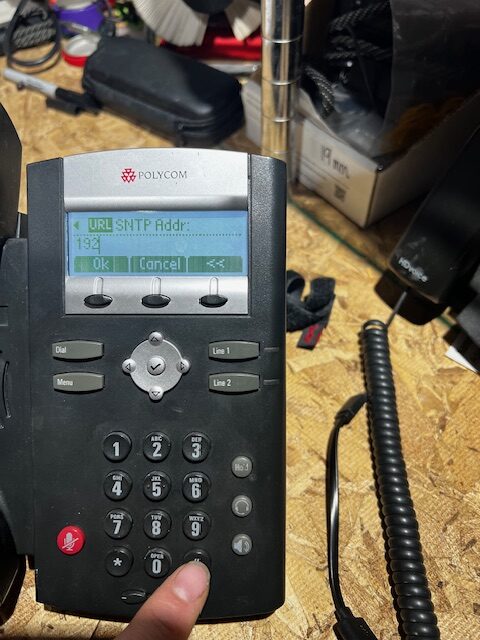
Now press the * key for a period.
Continue entering the rest of the IP Address, 192.168.2.1
Once complete press the button under OK
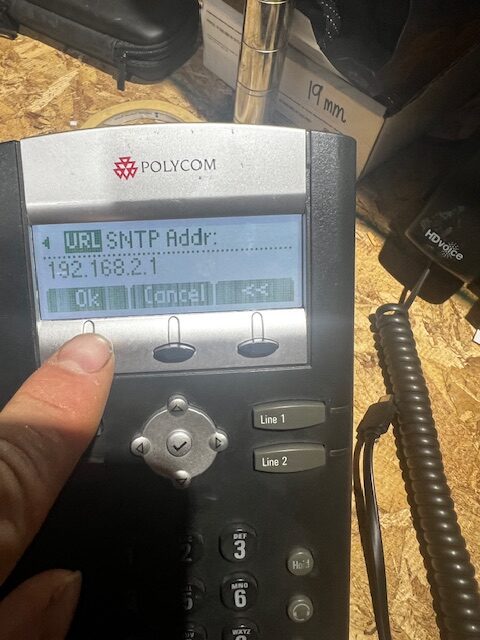
Next press the left arrow key.
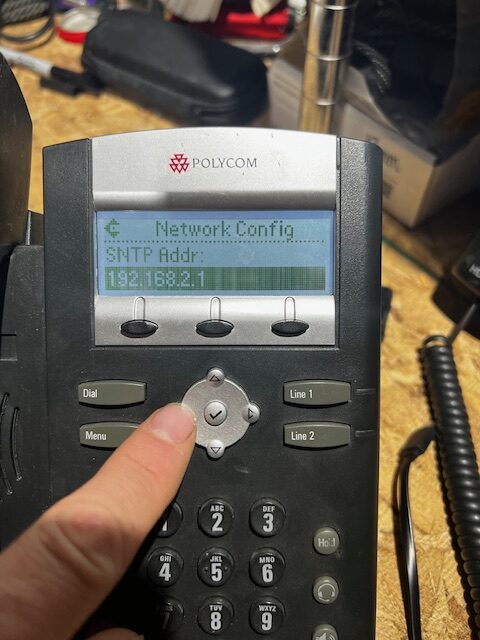
You will be presented with the menu options to Save Config?
Click the button under Yes
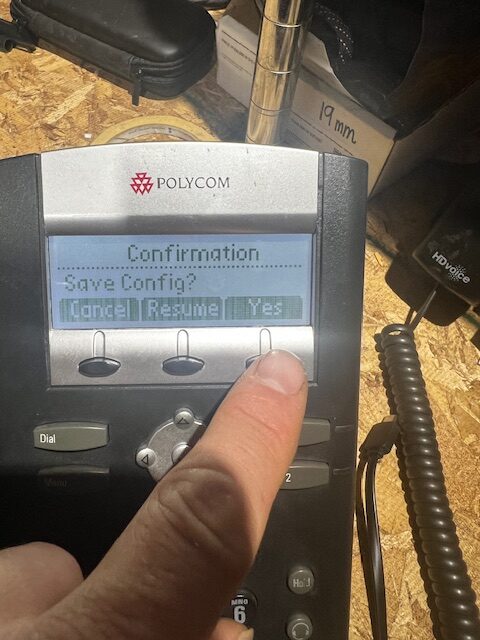
You can now back out to the main screen of the phone, using the left arrow button.
Once the phone has been tested for outside incoming calls it is good to be placed into service.
