
Open this Asterisk Phone Server make sure you are in the internal network at 6335 E Platte.
Once to the log in, use the Username extensions and the password in the spreadsheet.
Once logged in, Click on Extensions in the top Left of the bar.

That will bring you to the list of existing extensions.
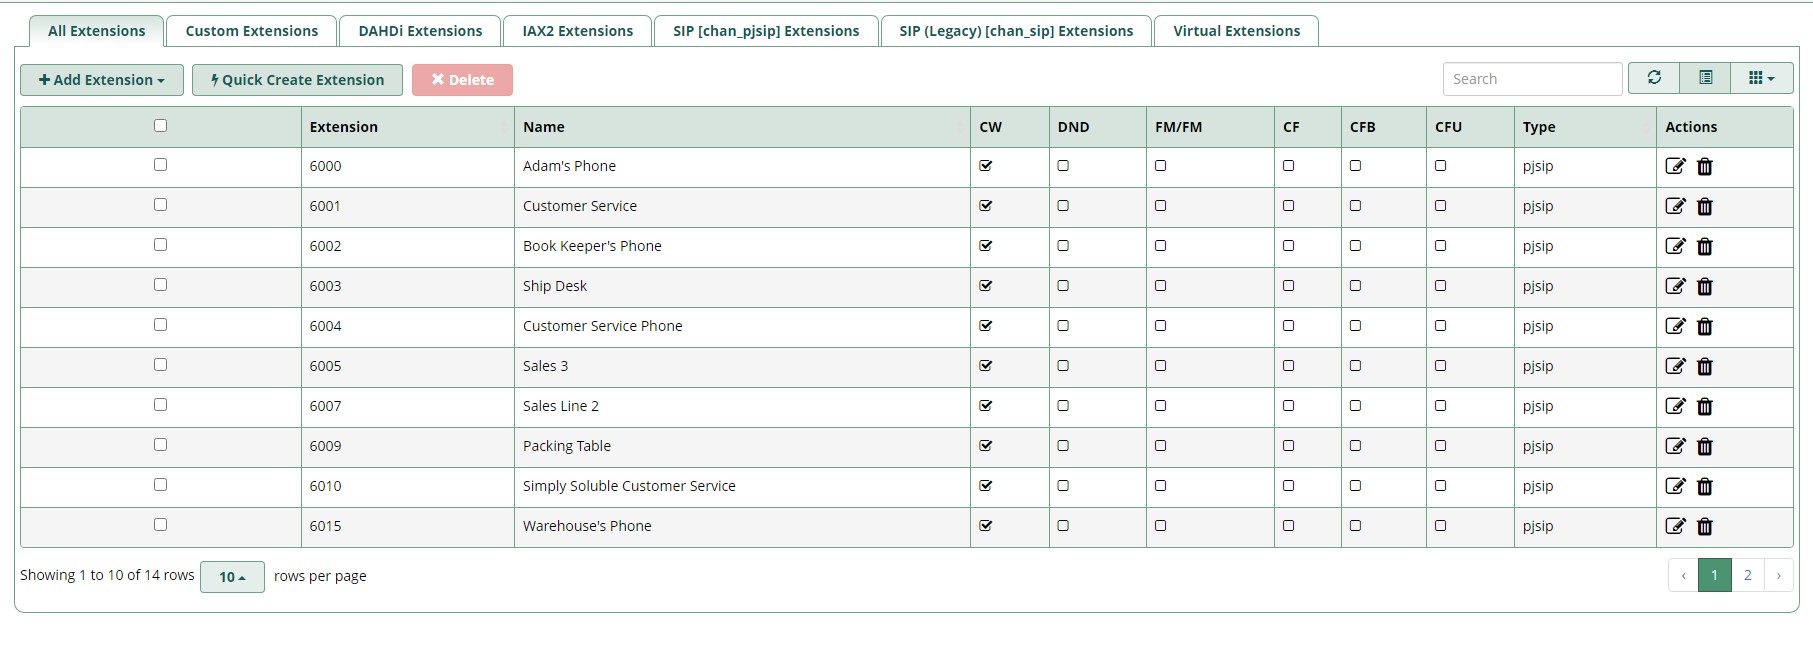
In the top left about the headings there is a button to + Add Extensions this is the drop down menu to choose what type of extension you would like to create, we primarily use SIP Extensions.
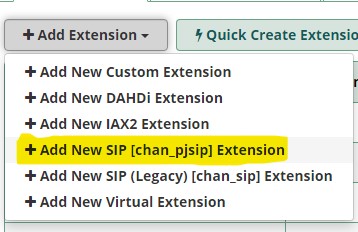
Click on the Add New SIP [chan_pjsip] Extensions
That will bring you to the new extension to fill in the specifics.
First is User Extension, we generally put extensions in the 6XXX series, look at the over extension list by clicking the Hamburger Menu on the right to see what the last extension used is.
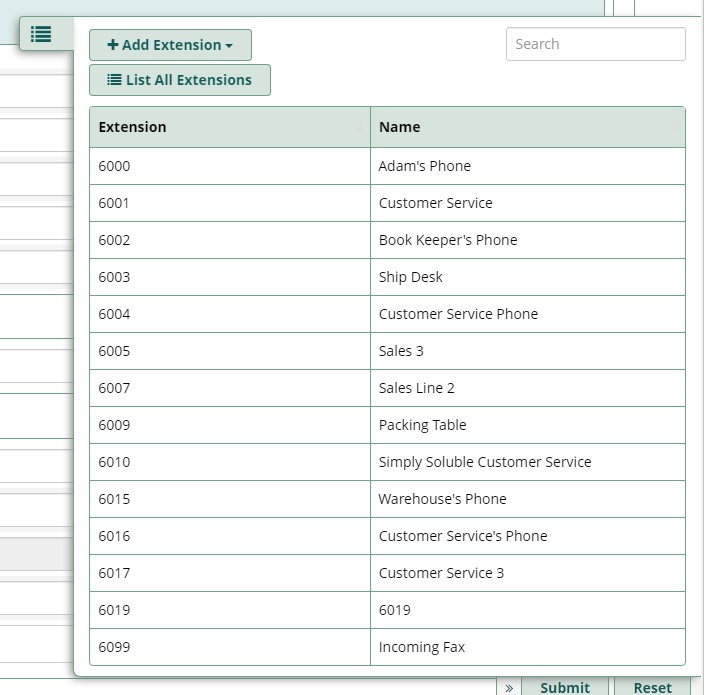
Once you have chosen your extension to create put it in the top field.
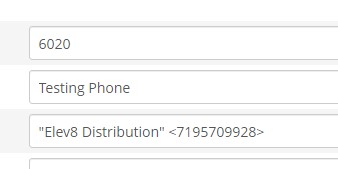
Move next to the Display name this is going to be a description of where the phone is located, I.e. department desk or physical location in the warehouse.
Outbound CID you can just put the phone number “ELev8 Distribution” <7195709928>
Leave emergency CID blank.
The next field is the Secret this is going to be entered on the phone once it is connected.
So after the first three fields you should have something that looks like this:
The Language Code should be left at Default.
User Manager Settings should be left alone at this point as well.
Click to the next tab at the Top for Voicemail: if the phone will have voicemail setup on it you will change the Setting to Yes next to Enabled, if not leave it as it is on No.

If it is enabled proceed to the settings below.
For the voicemail password set the extension number to force them to set their own password the first time they check it.
Require from Same Extension should be set to No, to allow them to check messages from any extension or outside phone.
If they will be checking from an outside line the Disable (*) in Voicemail Menu option needs to be toggled to No, otherwise it can be left to Yes.
If the user would like to receive email notification of voicemails they can have their email added to this field.

The remainder of the fields can be left untouched.
At this point nothing needs to be done with the additional tabs, and the Submit button in the bottom right corner can be clicked.
The extension is in the system at this point but it is not yet active, until you click the Apply Config button in the top right corner.

Generally it is a good practice to not apply config until others are off the phones since it can interrupt calls in progress.
Once it is confirmed no one is on the phone click Apply Config.
This only one half of the process the next step is to setup the desktop phone and enter the extension it will be connected with and the Secret from the initial setup of the extension.