If you are trying to access the Control panel for the site or the Public facing side and you are not able to, the first step is to open https://status.bigcommerce.com/
If there is something that has just arisen it may have not been updated just yet, but refresh the site side and see if the issue is still happening.
If it is go back to the tab for Big Commerce Status.
If the top bar shows anything other than the following there is an issue.

You can also scroll down to see the most recent issues that have occurred.

If there are no recent issues the next step is to clear your browser cache and hard reload the site.
Go to the site elev8glassgallery.com, press F12 once the page is loaded, right click on the reload button, left click on Empty Cache and Hard Reload.

If the site still will not load, attempt to open it on a device not connected to the WiFi or internal network.
WORK HOURS
All employees begin work by 8:00am and end 8 ½ hours later, unless instructed to report at a different time. Employees are required to be at their workstations, ready to begin the day’s assignments, immediately at the start of their scheduled shift. All non-work related tasks (such as, but not limited to, storing lunches or coats, washing up or using the restroom) should be completed on the employee’s own time, prior to scheduled work hours and should not delay the performance of his or her tasks.
All employees are mandated by law to take a thirty-minute lunch break, all of which is without pay, in which to eat their lunch. Any wash-up or lunch preparation time is to be done on the employee’s own time, and only after the beginning of the break. At the conclusion of the lunch break, the employee must report back to their workstations. Each employee is required to be at his workstation, ready to work, immediately following the conclusion of the break.
All employees working 8 hours per day will be entitled to two fifteen minute breaks each day. Employees working less than six hours will be entitled to a break period only with the consent of the supervisor. Employees violating these conduct provisions may be penalized for the time in violation (in addition to other penalty provisions) through the deduction of the time from their pay.
Elev8 Distribution Warehouse is Closed on the following Holidays.
Christmas
New Years day
Memorial Day
4th of July
Labor Day
Thanksgiving Day
When ever an internal service needs to be accessible outside of the company network, you will need to set up port forwarding. There will be two procedures involved, the first for the first router, and the second for the modem.
- Open unifi.ui.com
- The login is in the spreadsheet, (this one will be somewhat different since we will actually need to set up a user that receives a 2nd factor prompt)
- Click on Premier.
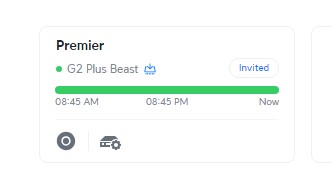
- This brings you to the dashboard, look to the left side bar for the Gear (settings), click on the icon.

- Click on Security in the new Sidebar.
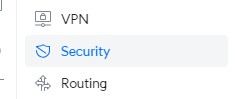
- Click on Port forwarding in the top bar.
- This will bring up the list of existing port forwards. To create a new entry click at the bottom of the list Create Entry.
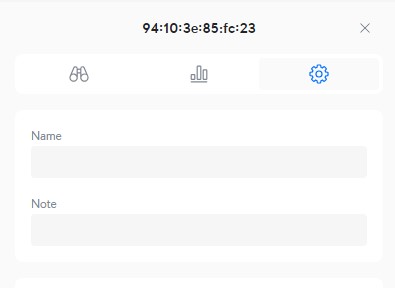
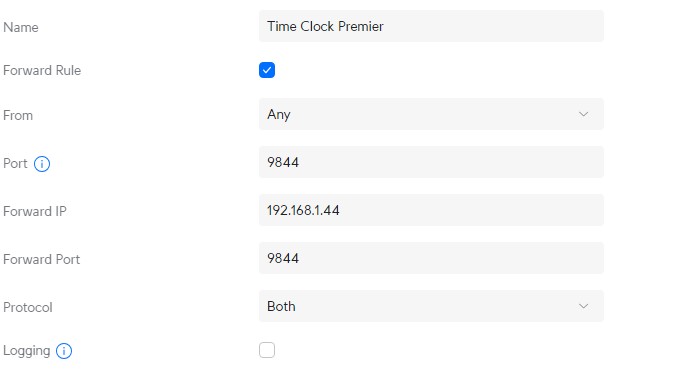
- Fill in the Name to List the Port forwarding under, this will most likely be the software or the hardware being accessed. Leave the From field set to Any, Port being forwarded, this is the port number you would like to open up. The forward IP is the internal IP that the software or hardware is accessed at, Forward Port is the same port number. Protocol can be left at Both.
- Once you have everything in the correct place Click Add Entry at the bottom of the page.
- The forwarding will be entered into the main list.
- Confirm by locating it at the bottom of the list.
- If you have other ports to set up, repeat the previous steps for each one, otherwise continue to the next procedure.
Now we are adding the Port Forwarding to the Modem.
- Open 192.168.0.1
- Login with the username and password in the spreadsheet, if you do not have access to that ask Steve or Adam to provide the password.
- Once logged in, Click on Advanced Setup.
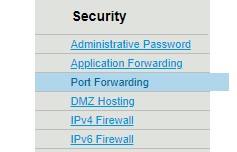
- Click on Port Forwarding in the left side bar below Security.
- Under Select Device there is only one option ubnt, click on that.

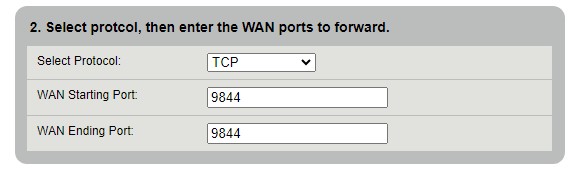
- For WAN Starting Port put in the port number, for the WAN Ending Port put the same number, unless you are looking to open a range of ports.
- For the Source IP address details leave as All IP Addresses.
- Click Apply in Step 4. box.

- Confirm it is showing up in the port forwarding list, at the bottom of the page.

- Confirm you are able to access the forwarded port from outside of the internal network.
If a workstation is not booting properly, or will sit at boot screen for multiple hours, it may be an issue with a previously installed Windows Update package.
- Let the computer sit for at least and hour to make sure it isn’t a Windows Update just finishing.
- Power off the computer completely.
- Power the computer back on and see if there are any indications it is related to a windows update that hasn’t completed yet.
- If the computer continues to hang and not complete the boot up process, press and hold the power button to power down the computer.
- Press the power button again, as soon as the computer logo or bios logo goes away press and hold the power button again.
- Repeat this process until the screen states that the computer is booting into the Windows Recovery Environment.
- If this was related to the Windows update, going back to a previous build will generally resolve the issue.
When a SSV, DBV, or Sidekick is assembled for an order, there will be a serial number that is created for the product, or in the case of the SideKick Vaporizers it will be recorded in Elev8.one
The following steps will guide you through the creation of a serial number for a DBV, SSV, SUP2, and All WRS units.
- Open a browser window and navigate to Elev8.one
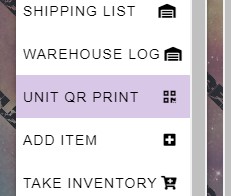
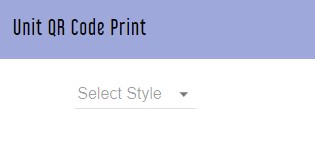
- Once logged in, navigate to the left side bar and look for Unit QR Print
- Click on that and you will be brought to a form to fill in.
There is are different steps for each model starting with the DBV
- Select Unit dropdown and choose DBV.
- For DBV you only have to declare the housing Color, Silver or Matte Black.

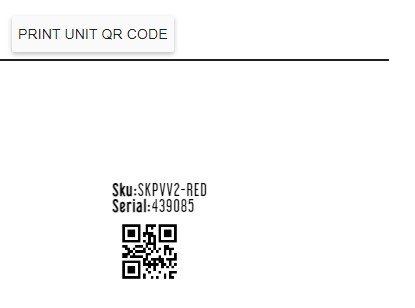
- Press Get Unit QR Code.
- Press Print Unit QR Code
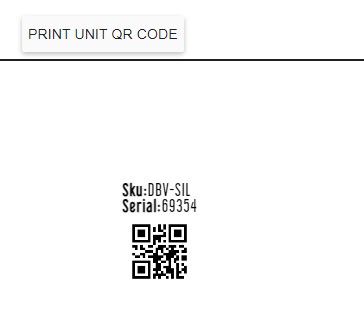
- Retrieve Label from the Dymo Printer and place with the unit for packaging
Process for SSV
- Select Style SSV from the drop down menu
- Select Housing color
- Select base Color

- Press Get Unit QR Code.
- Press Print Unit QR Code
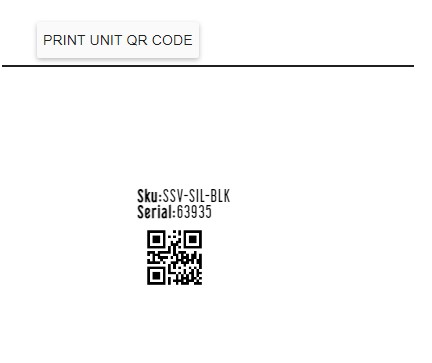
- Retrieve Label from the Dymo Printer and place with the unit for packaging
Label for SSV-WRS
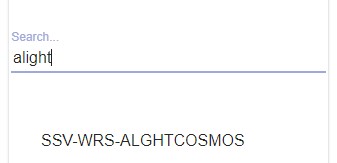
- Choose the design that is being created from the drop down list, Select SSV WRS Design

- You can hotkey search for designs by typing the first few letters of the title into the search box of the drop down list, and then choosing the corresponding entry.
- Press Get Unit QR Code.
- Press Print Unit QR Code
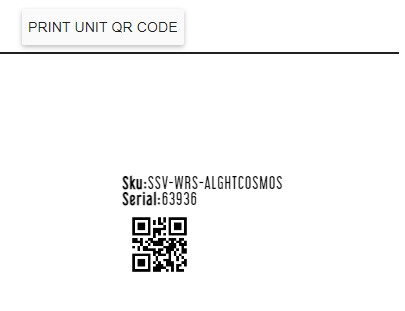
- Retrieve Label from the Dymo Printer and place with the unit for packaging
SUP2 WRS
- Same process as the SSV WRS, but choose from the Select SUP2 WRS Design drop down list.

- Press Get Unit QR Code.
- Press Print Unit QR Code
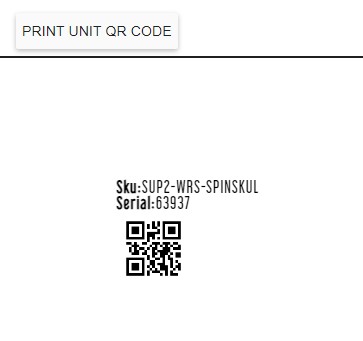
- Retrieve Label from the Dymo Printer and place with the unit for packaging.
For LSV
- Select the Style LSV
- Select Housing Color.
- Press Get Unit QR Code.
- Press Print Unit QR Code
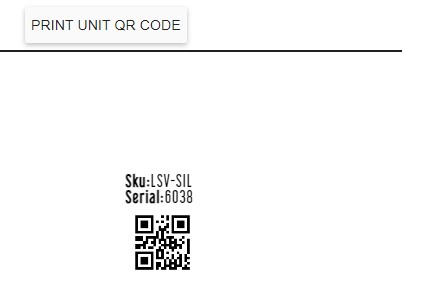
- Retrieve Label from the Dymo Printer and place with the unit for packaging.
For SideKick
- Select the Style SKPV or SKPV2.
- Select Housing Color.
- Add the Serial number that is engraved near the Battery Cover to the Reset serials for SKPV Field

- Press Get Unit QR Code.
- Press Print Unit QR Code
- Retrieve Label from the Dymo Printer and place with the unit for packaging.
For Blem DBV or SSV
- Select The Style DBV or SSV
- Select the BLEM entry on the Housing.
- Press Get Unit QR Code.
- Press Print Unit QR Code
When an employee leaves there will still be their punches in the time, clock we need to retain these for situations regarding wage complaints or unemployment requests.
- Open https://192.168.2.45
- Login using the Username: admin, and password that is on the spreadsheet, or ask Steve or Adam to provide you with it.
- Once logged in, hover over Lists, and click on Employees.
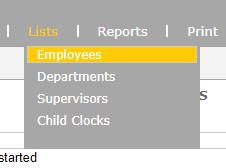
- Look for the employee you are going to archive the punches for, if they are not in the list, you need to click on Show Inactive.
- Once the list reloads, locate the employee, click on their Display ID or Last Name or First Name.
- In the employee profile click on the check box to make the employee active again.
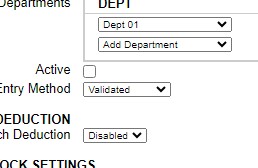
- Now click Submit at the bottom of the screen.
- Move over to the Reports, hover over it to get the Time Cards, click on that.
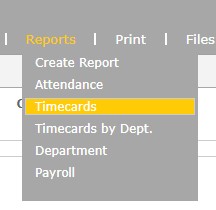
- Change the time period and displayed employee. (Pressing the double left arrow on the date window will go by years. Generally anything before 2010 should cover all punches.
- Change the Displayed Employee to just the specific one you are trying to download the punches to.
- Click Submit, depending on how many punches are in the system this may take a little bit to load.
- Once the report is loaded, click on the Daily setting in the top bar to display punches on a daily basis.
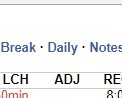
- Scroll to the bottom of the report and confirm that all dates are included.
- Once that is confirmed go back to the top of the page and click on Export.
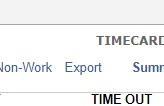
- The report will be generated and will download to your computer once ready.
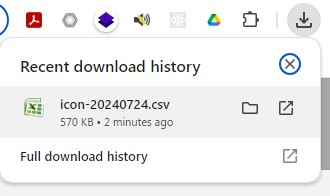
- Open the folder that the document is stored.
- Rename the File with the Employees name.
- Move the file to the Personnel Drive / Inactive Employees / Employee Name Folder.
- Once the file has been moved return back to the Time Clock window.
- Hover over Lists, and click on Employees, click on the name of the employee you just downloaded the punches for.
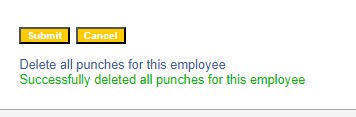
- Below the Submit button there is a Delete all punches for this employee, click that.
- A warning dialog box will come up at the top of the screen warning that all punches will be deleted for this employee if you continue.
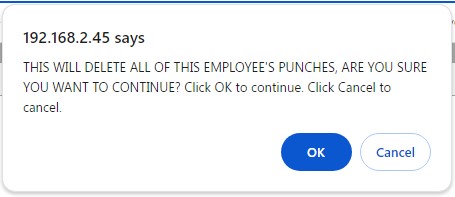
- Click OK.
- Once the process is complete there is a small dialog that will appear at the bottom of the screen indicating all punches have been deleted.
- At this point uncheck the active status of the employee and click Submit at the bottom of the page.
- Proceed to process additional employees or close the window if completed.