How to Check the Shipping Cameras
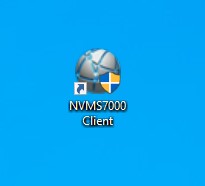
On the shipping computer look for the Icon for NVMS7000, Double Click on it..
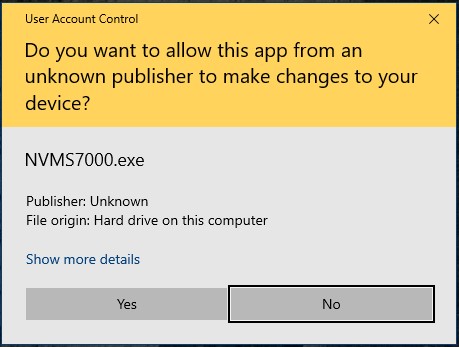
A dialog box is going to come up, click Yes..
Once the software is running you will be asked to login again, the username is shipping, and the password is Here.
There is also a Link on the Desktop for Shipping Passwords.
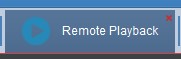
Once logged in successfully you will be at the main screen, the tab you will be using is the Remote Playback
If you do not see that in the top bar icons, click on Control Panel, and then Remote Playback.
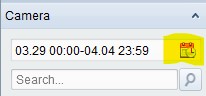
Now you will find the camera you need to look at. Click on the 6331 east platte ave and then go to camera16. Once in the Remote playback tab, click on the Calendar Icon to the right of the date.
This will bring up the dates you are looking for footage in.
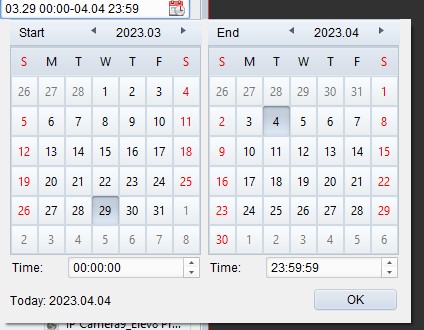
The left side start date, and the right side is the end date.
If you are looking up a package you will be selecting the same day.
Once the dates are selected left click OK.
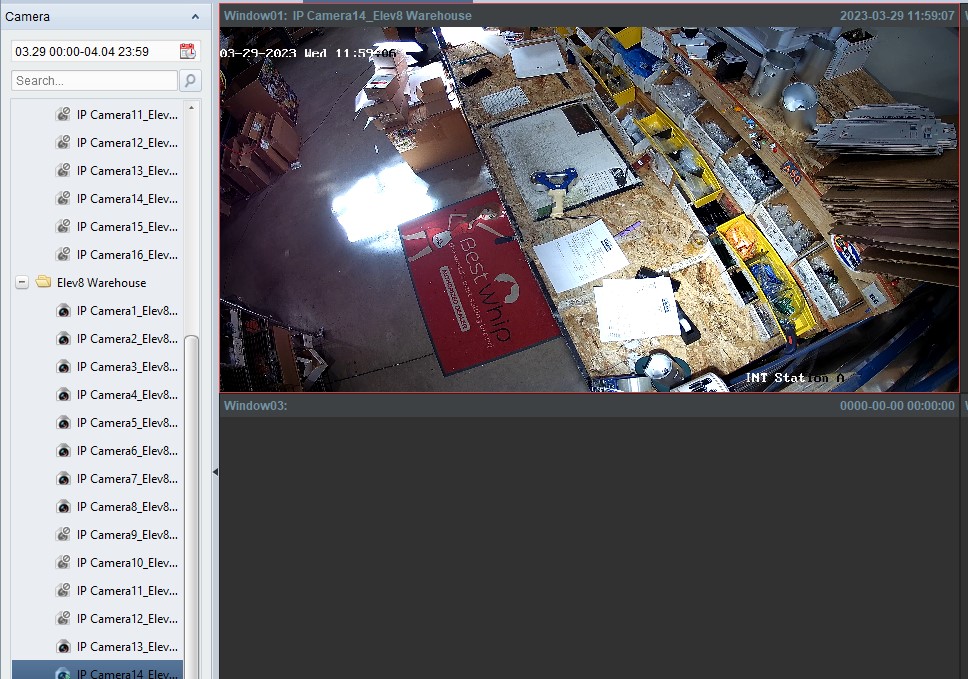
Now you will be dragging which camera you would like to see the footage for, into the main window.
Old Shipping Camera Station
IP Camera 14 is Shipping Station A
IP Camera 16 is Shipping Station B
IP Camera 15 is Shipping Station C
IP Camera 13 is The Bagging Station
New Camera System at 6331 E Platte
IP Camera 16 is the Main Shipping Station
Drag the camera name from the left side menu into the first square on the main view window.
double left click on the video window to maximize it to the main viewing window.
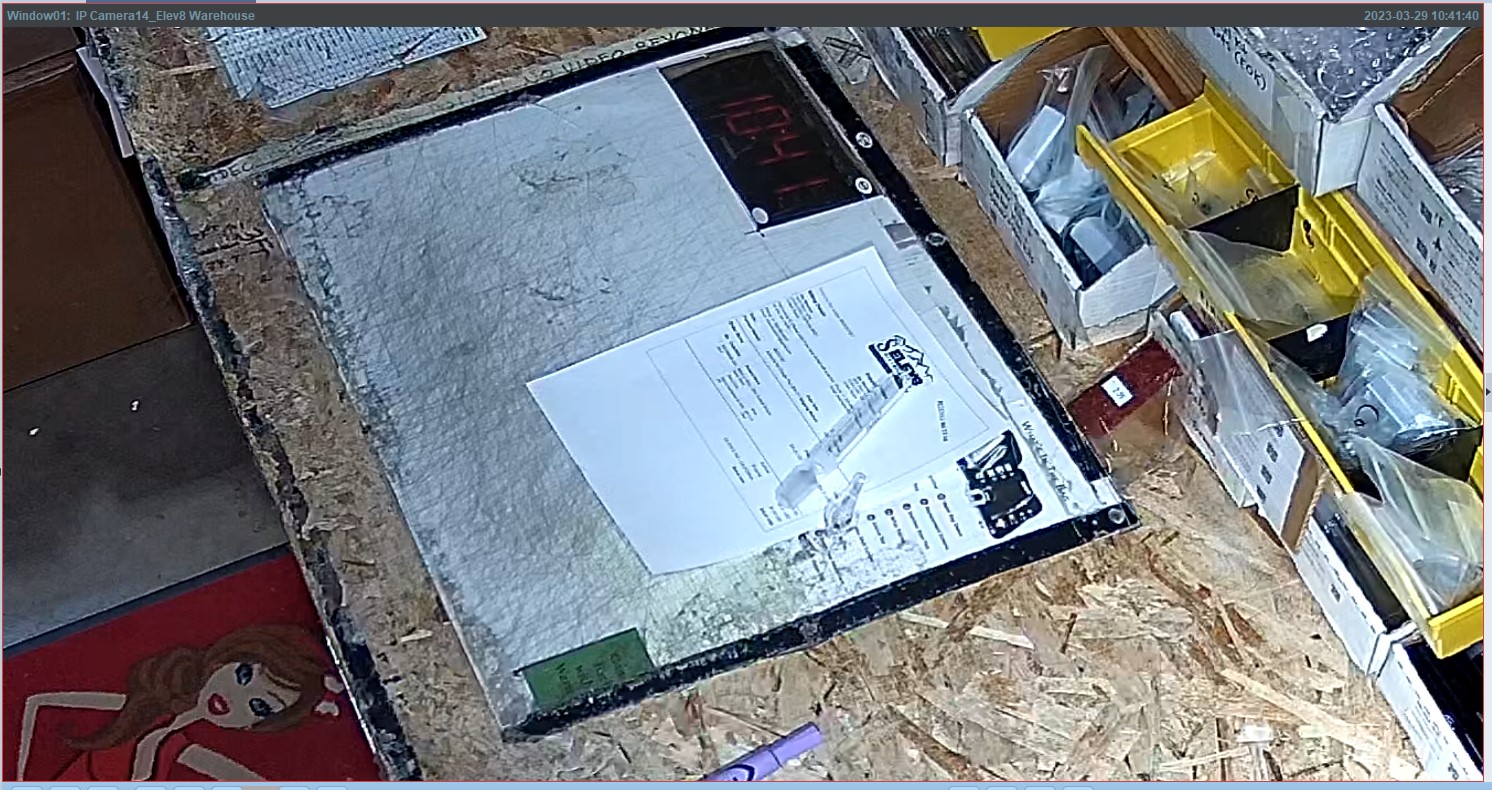
Once you have the screen maximized you will use the slider at the bottom of the window to time scrub for the footage you are looking for.

All of the pink portion is footage that is available to review.
If you are trying to get a closer look a package that is on the table, you can right click on the video playback and select Open Digital Zoom.
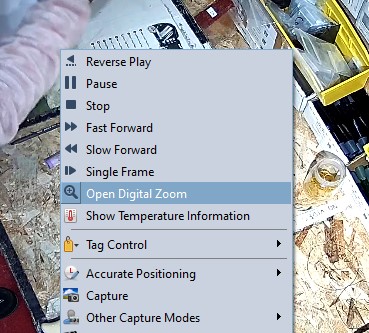
Once in Digital Zoom mode, scrolling on the mouse scroll wheel will pull the footage into the subject your cursor is hovering over.
To return to full view right click on the screen again and click on Close Digital Zoom.
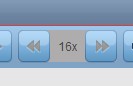
You can also scan through footage at 2x, 4x, 8x, 16x by clicking the left or right arrow button above the activity panel.
If you need to reverse the footage to see something again Click on the left direction arrow to the left of the play button.

*If you need to view multiple different packages, once you change the calendar day and Click ok, you need to drag the camera into the viewing field again to search for the new footage.