
How to print a new label from an old label
Printing Labels that are already made We make labels for many of our products. We also make stickers, they are the same thing.
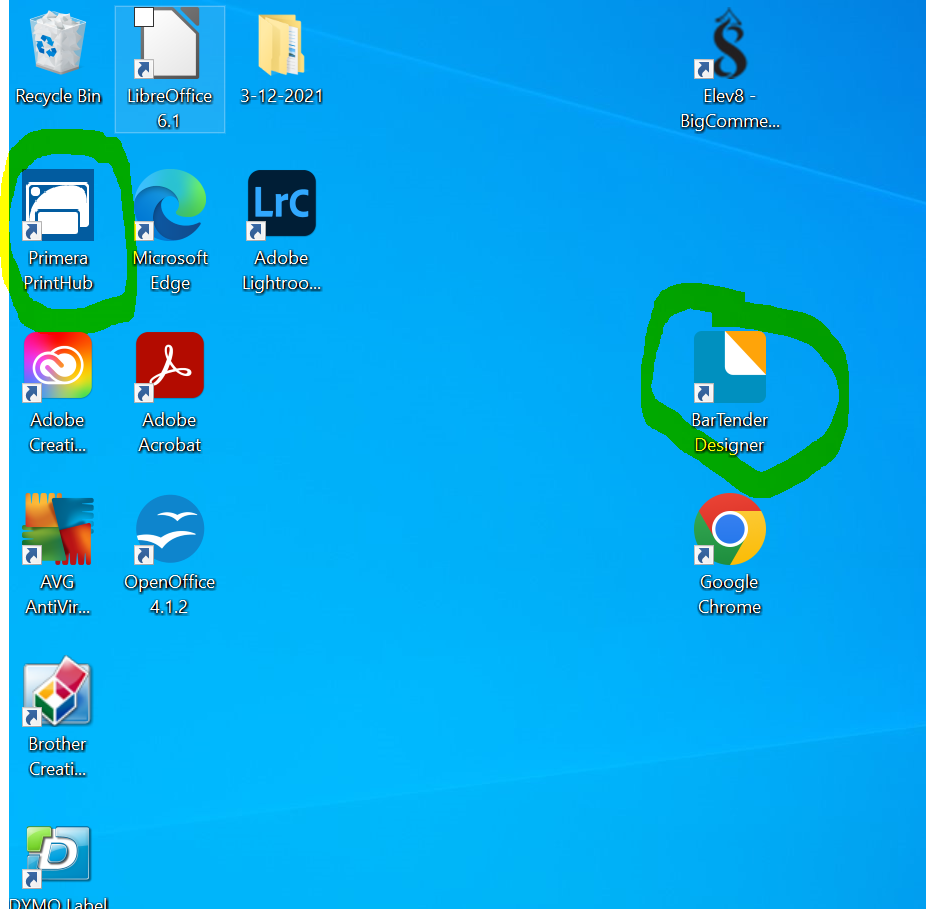
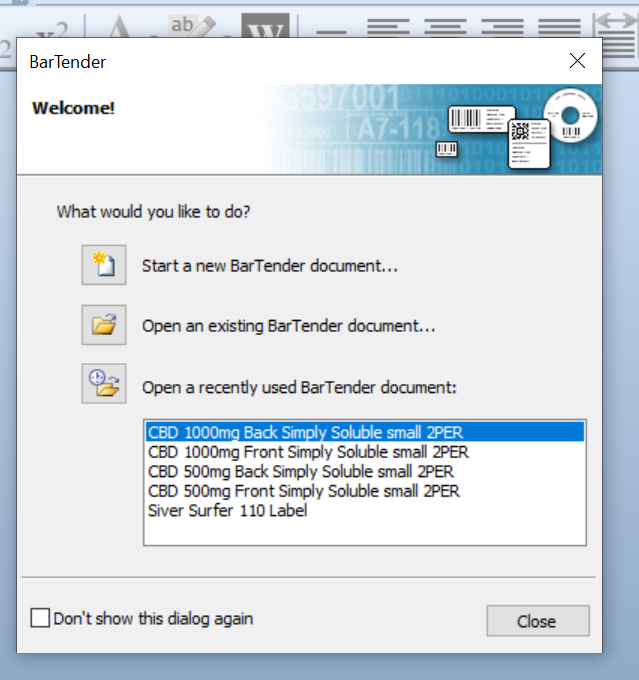
- Open Bartender Designer found on the desktop
- If you see the file you are printing click on it.
- 2.1 Most always you will click on Open an existing Bar Tender Document
- 2.2 If this is a new file and you know it, you will need to make the image a label here
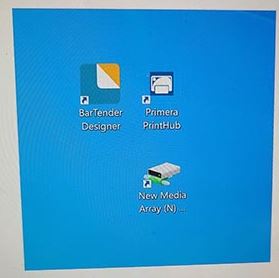
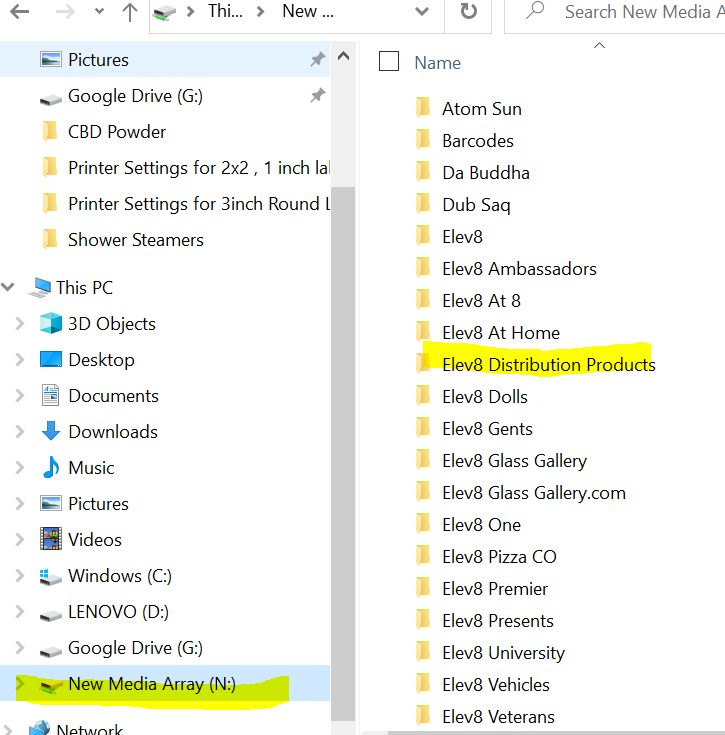
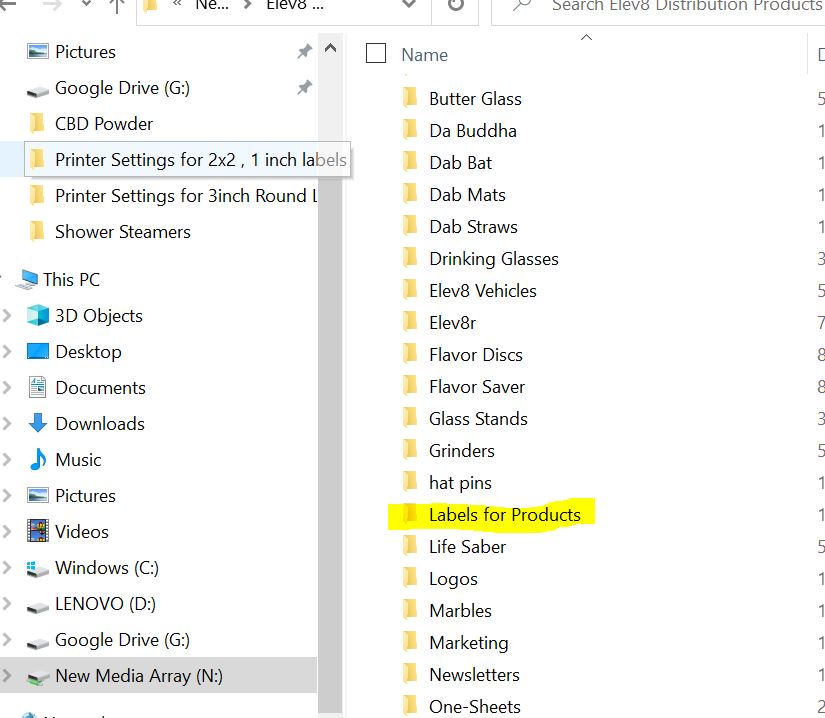
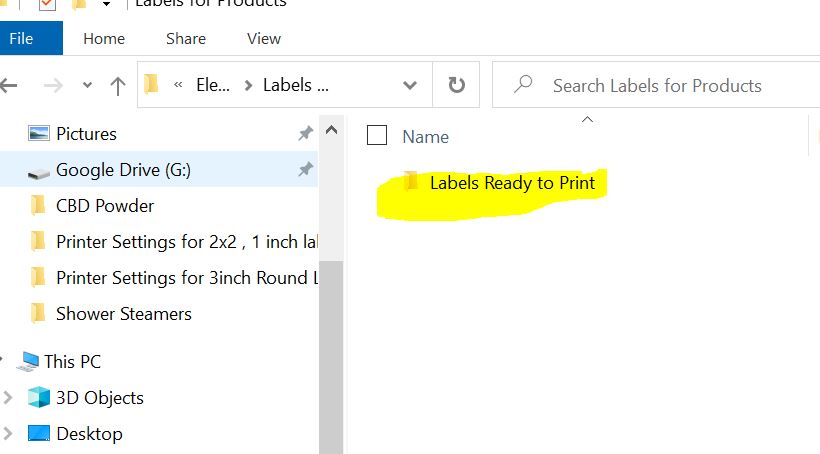
- 2.3 Click on New Media Array, then Elev8 Distribution Products, then Labels For Products, then Labels Ready for print. In this end folder are all label that have been printed before in Bar Tender
- For this, we will print a Silver Surfer Cord Label
- 3.1 Click on the folder that has the product in it
- 3.2 Click on the product you want to print
- SET UP PROPER LABEL MATERIAL
- 4.1 Open lid of printer and then press unload button
- 4.2 Pull stickers out the back end
- 4.3 Remove spindle of stickers with green part and blue part. the green part has electrical parts in it
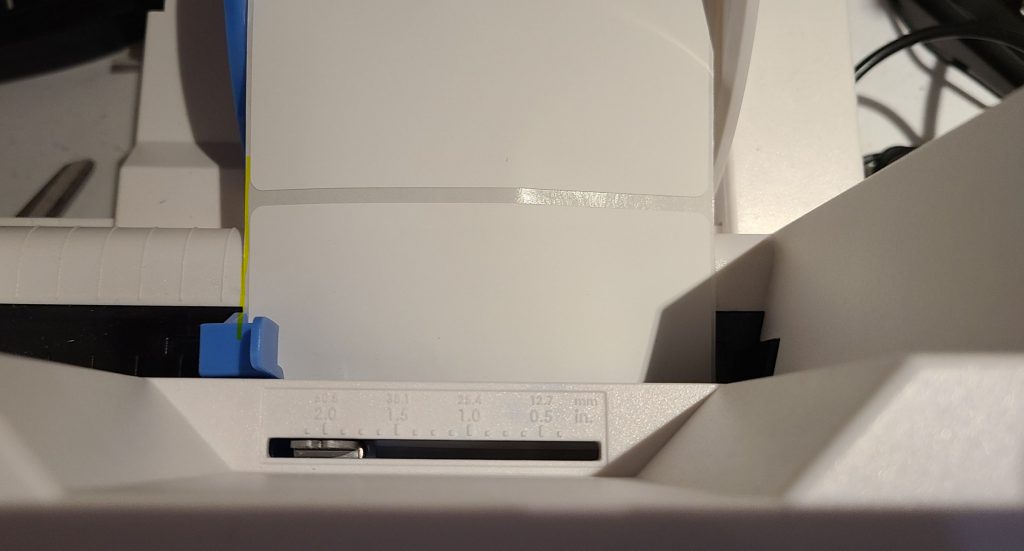
- 4.4 Find the proper labels you are printing.
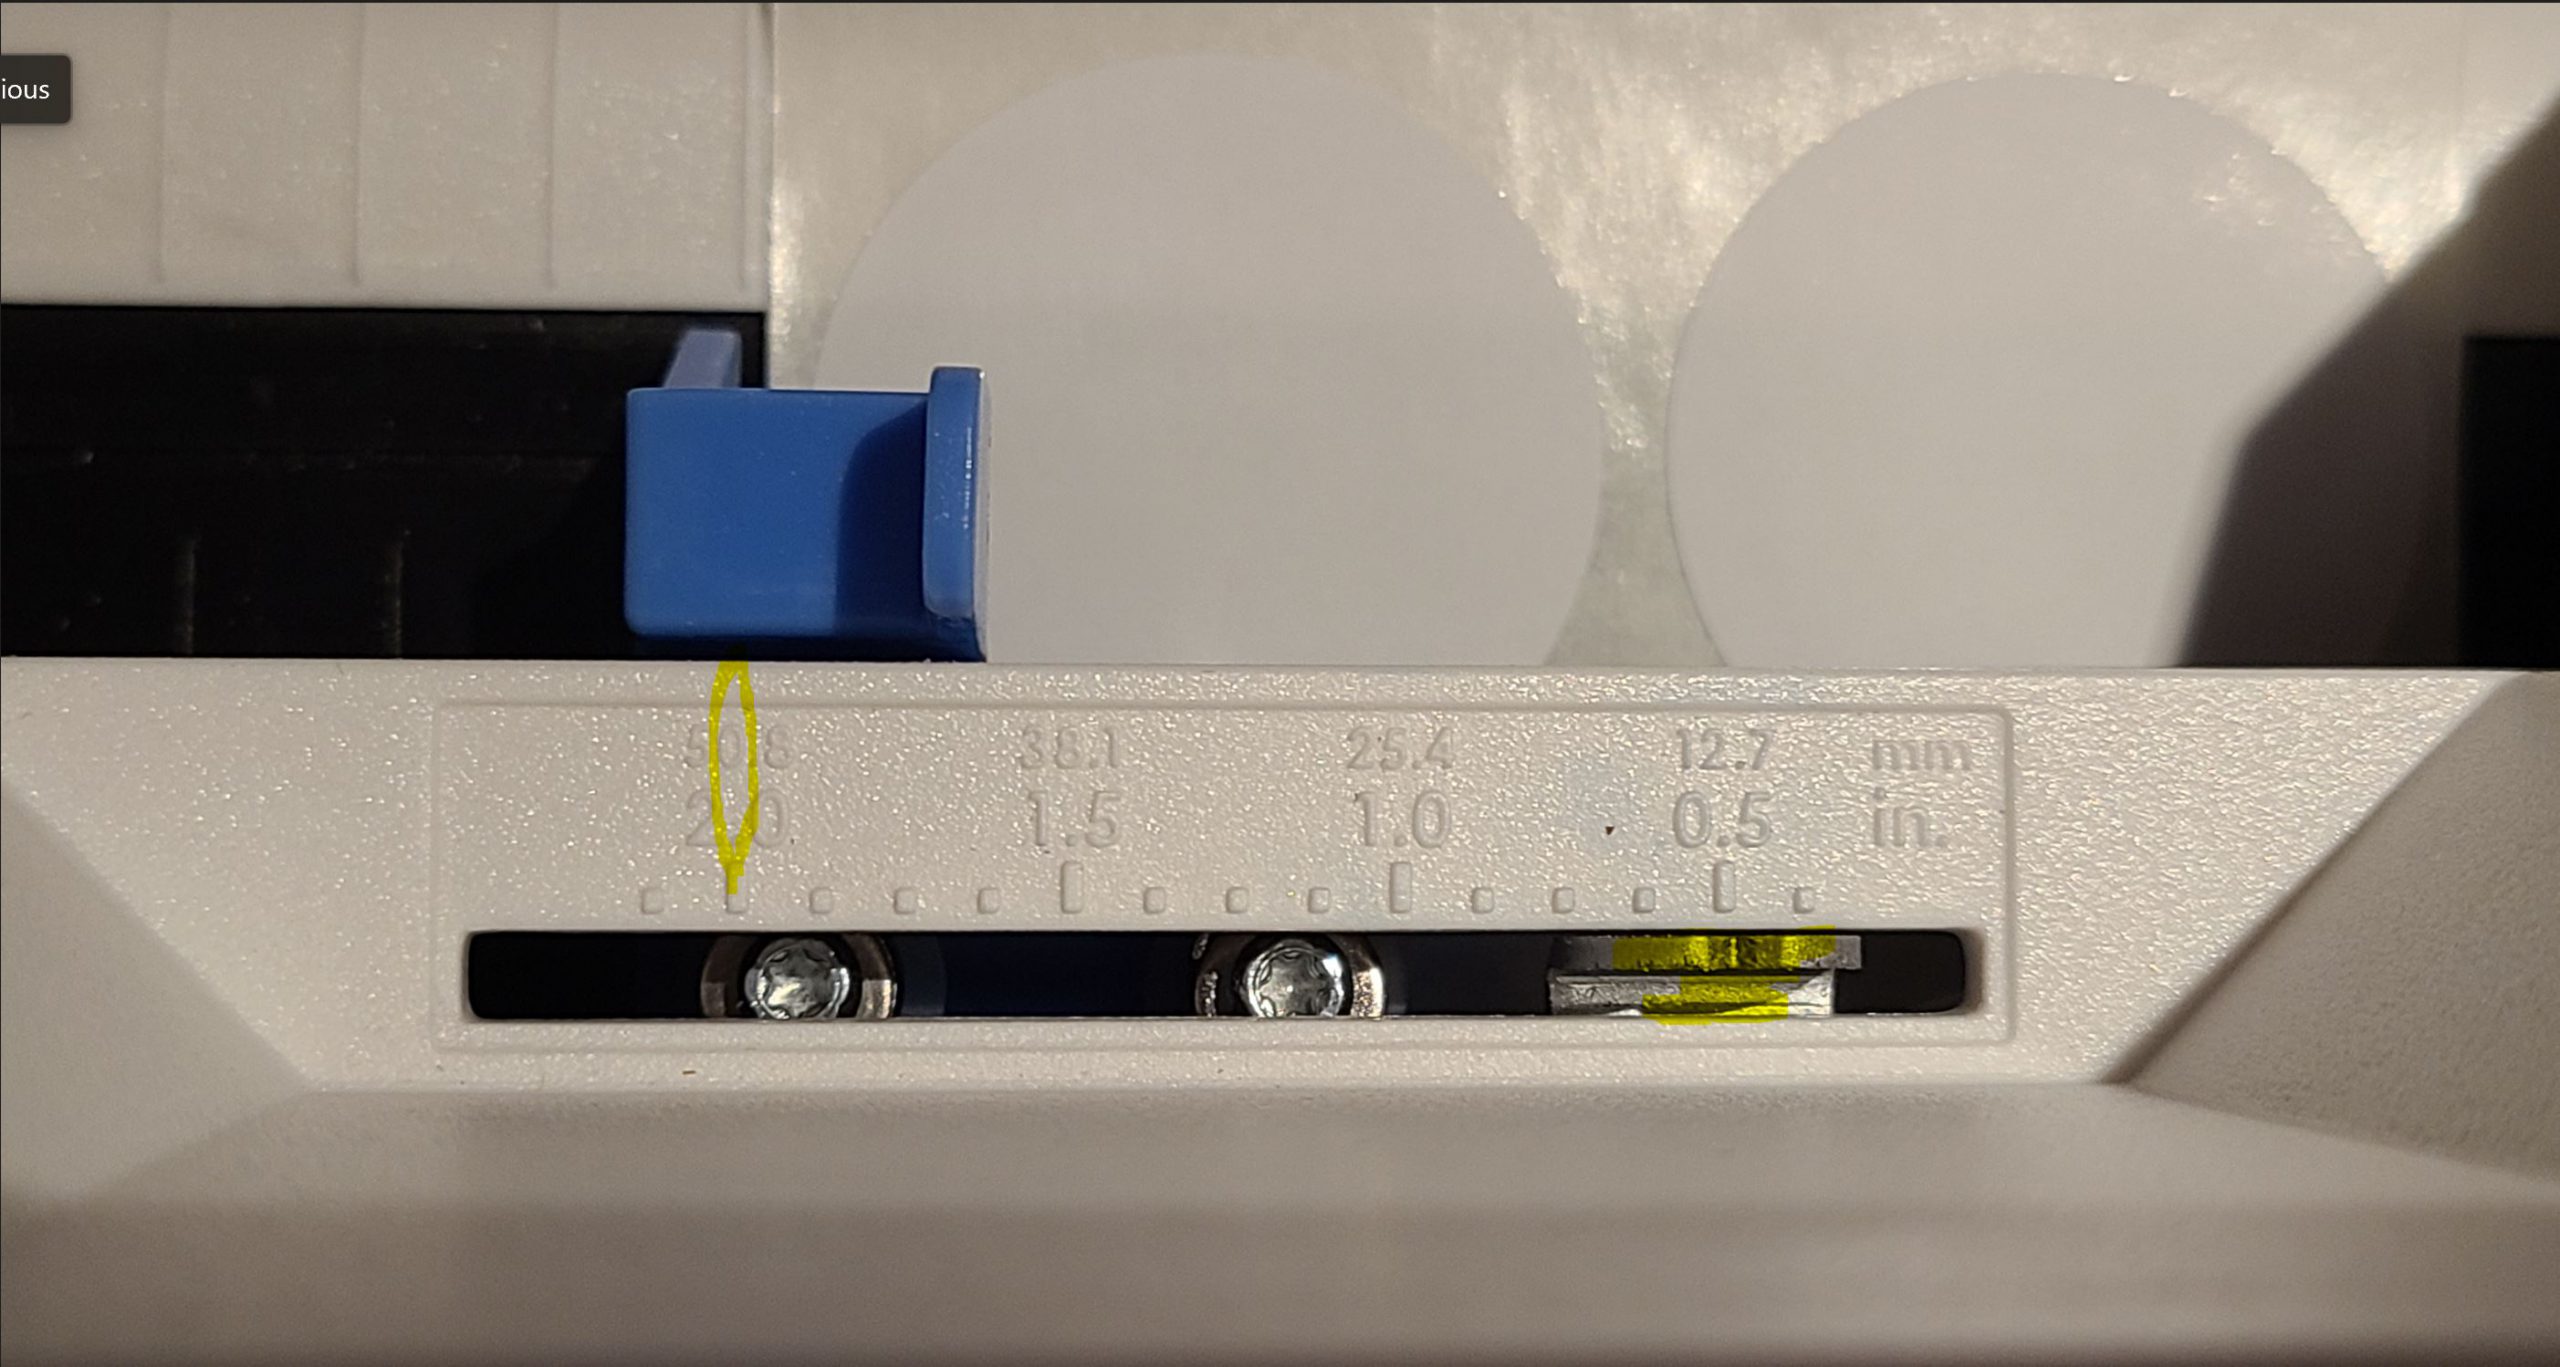
- 4.5 Set the metal marker to 1/2 the width of the label you are printing
- 4.6 If they are 4 inches wide you will be setting the metal marker at 2 inches
- 4.7 Move the left spindle holder left or right to accommodate the width of the labels
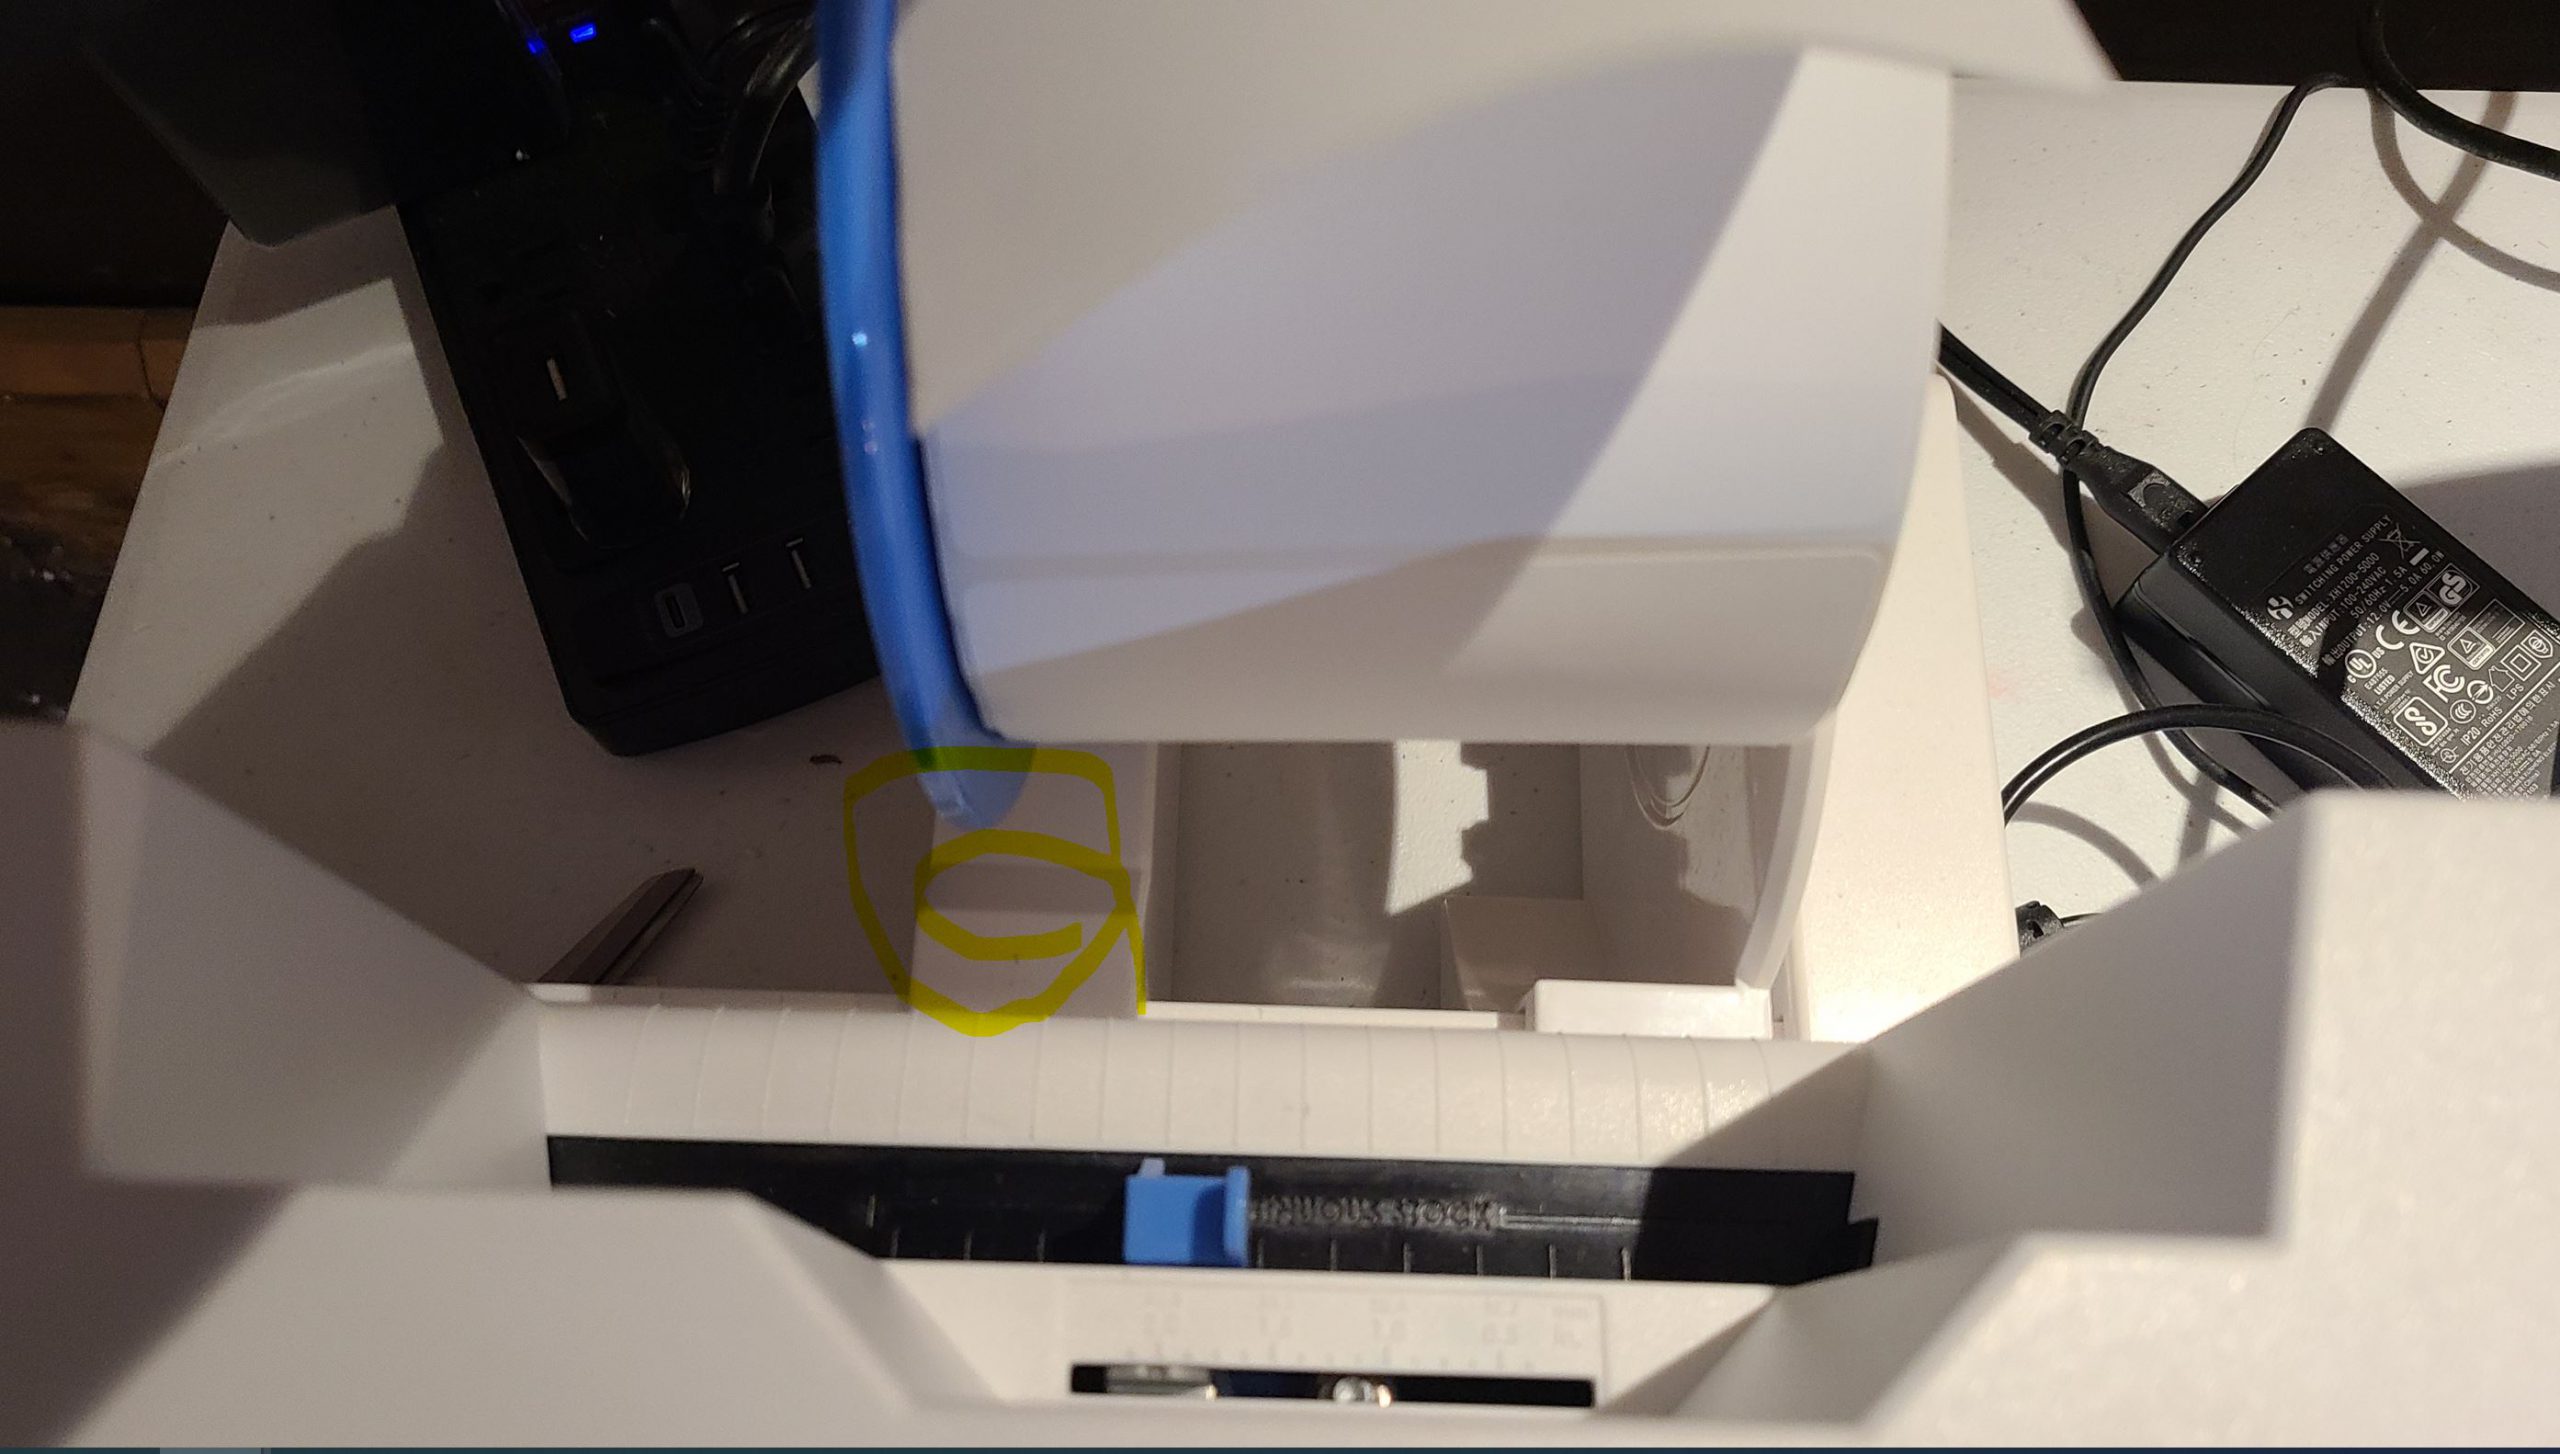
- 4.8 Set the spindle in and make sure the green part goes in with the narrow point down
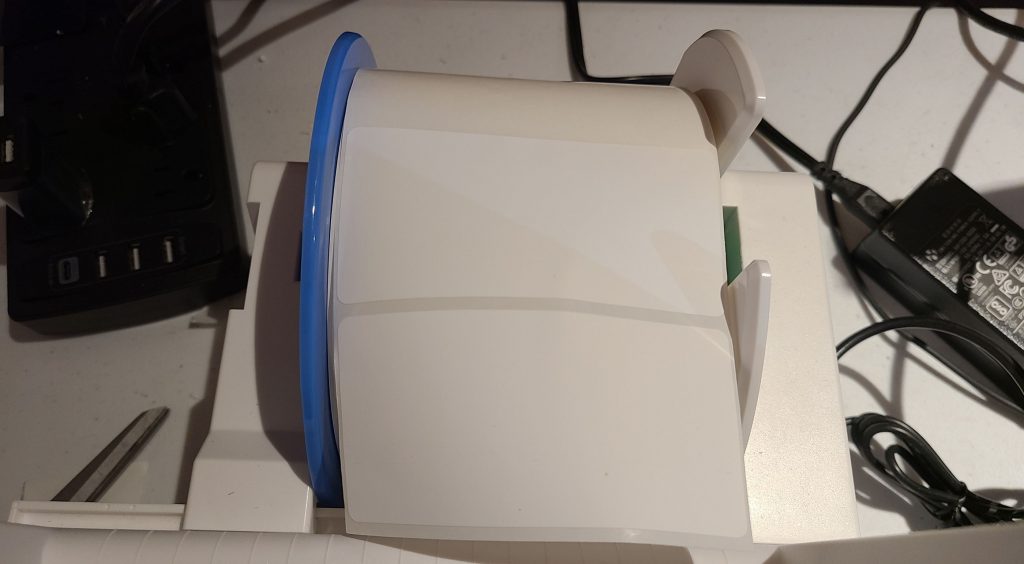
- Move the blue part of the printer to the edge of the label
- Press the label into the back and it will suck in. The label needs to be flat and clean to not get caught and suck in smoothly. Push lightly but do not force and the printer will suck it in. **Make sure that when it starts it has some loose label to be sucked in
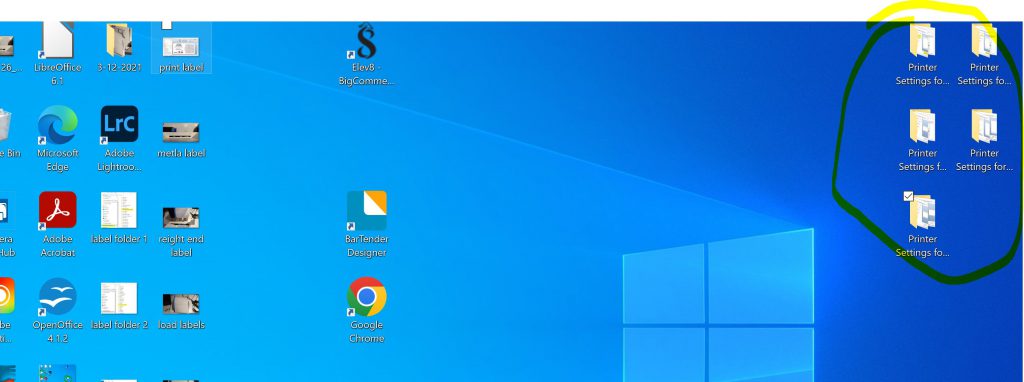
- Open Premier Print Hub
- 7.1 Click on the Program Premier Print Hub located next to BarTender software on the Desktop.
- Open the folder that is appropriate to the stickers label size you are using.
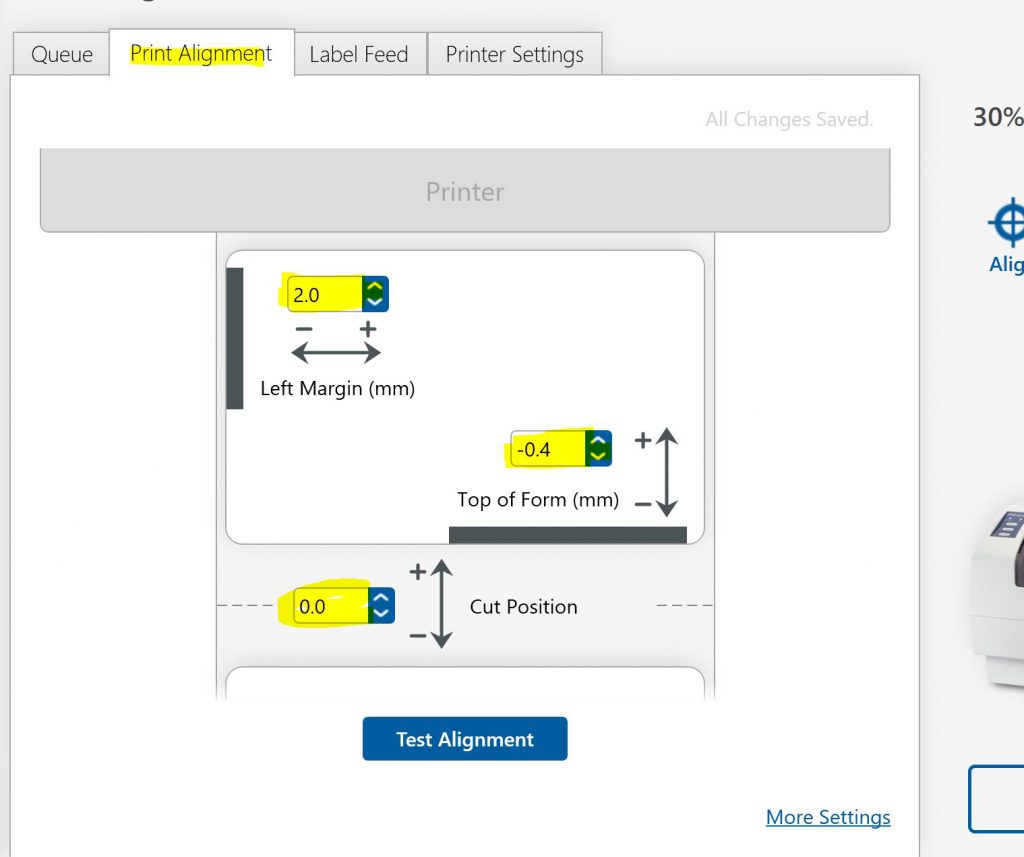
- Set Print Alignment to setting from folder in Premier Print Hub to match the picture and Print Alignment. You can hover over the folder to see the full file name. You will open the folder and then open the image that says print alignment settings
- Go back to Bar Tender and Click Print start out with 1 to always test
- 8.1 Make sure you are printing to the proper Prermiera 600 printer.
- 8.2 Bartender will say the picture is clipped, click continue, this is ok
- Check the label, if off, you will need to make changes in Premiera Print Hub
- 9.1 Print as many as you need
If you get gap sensing error
- Open the top and close it and start again, make sure to feed the label back in
- Open an existing label that is the same kind
- Click on the image and press delete
- Click on the image button and then insert from the File
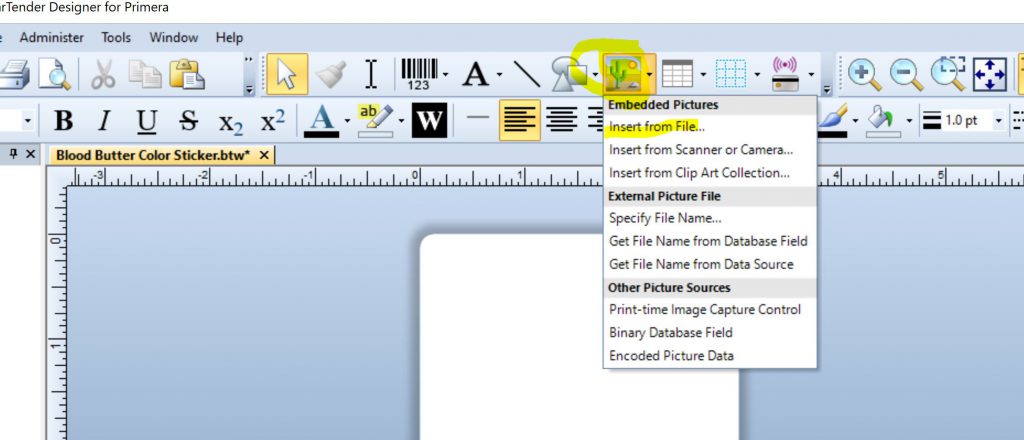
- Go to the location of the image and add it in the center
- You will need to adjust the image to the way the image was you deleted
- To adjust only grab from the corner.
- To rotate grab the blue dot at the top and move. When t gets to 90 degrees it will click into place.
- Finish getting the image to the right size of the orignal
- You can press CTrL + the mouse wheel to zoom in and out
- You will need to adjust the image to the way the image was you deleted
- Once the image is done in place, you need to SAVE AS the file
- Save the file as the name of the product, fully
- Save in the folder LABLES READY TO PRINT, and the proper folder for what the product label is
- Go to step 4